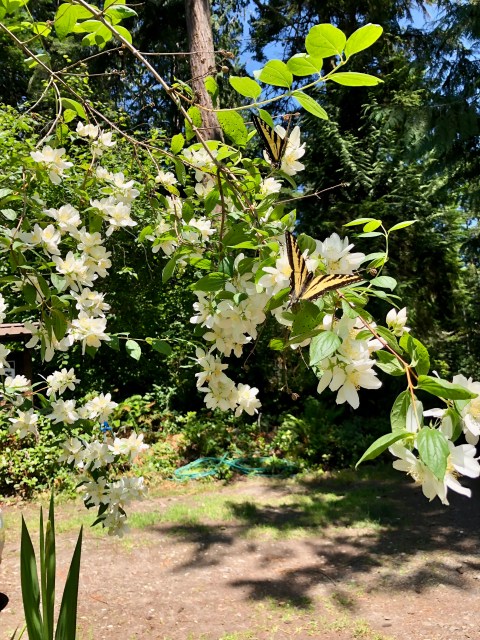
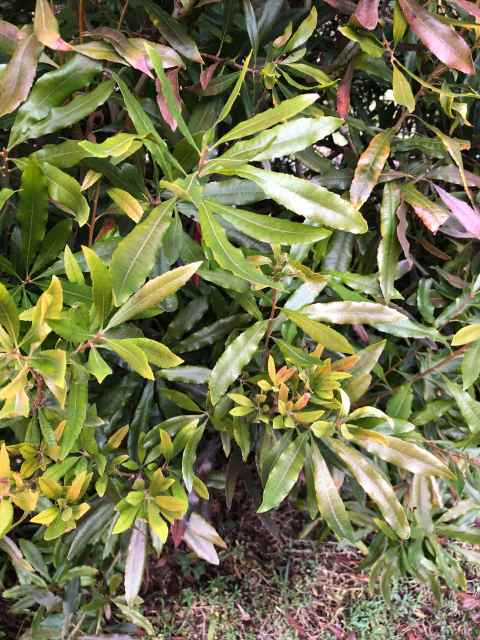
A delightful native shrub for early summer is Lewis’s mock orange, Philadelphus lewisii. This deciduous shrub has a fountain like shape and fragrant white flowers that grow in clusters.
It is equally at home in a cultivated landscape or a natural thicket. My introduction to this native came in a conservation bundle thirty years ago. When the shrubs matured and started to flower, I wondered if a mistake had been made. The flowers looked so much like the Philadelphus coronarius, a European introduction commonly seen on old farms in New England. Our native west coast mock orange is just as beautiful and better adapted!
This multi-stemmed shrub with long arching branches may grow 3-10 ft tall or more. I planted one by a shed where the rain spills off the roof and after thirty years, it is close to 15 ft tall. Since it was part of a native plant thicket planted along the roadside, I never pruned it.
Lewis’ mock orange is equally effective as an ornamental as it is in restoration plantings. It can be used in borders or grouped together for screens. In autumn the foliage turns lemon yellow.
Growing Conditions
Lewis’s Mock Orange is flexible about soil requirements. It prefers soil rich in organic matter but will grow in gravelly soil if provided moisture. Full sun will encourage more blossoms but the plant will be healthy in partial sun. This native will be drought tolerant once established.
Native Habitat
Mock orange can be found throughout the west from British Columbia to California. I am sad to say I have never seen it growing on the Olympic Peninsula but, in Nelsa Buckingham’s book Flora of the Olympic Peninsula, she says it occurs in open habitat here on the peninsula lowlands from north to east. also at mid-elevations from northeast to east.
Benefits
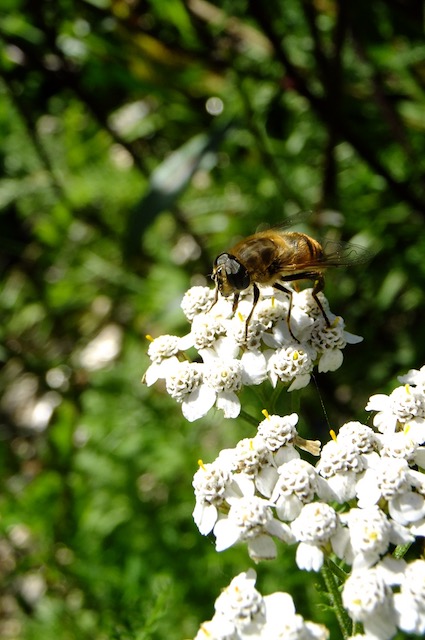
Pollinators love this nectar-rich plant. Birds that eat the seeds in autumn include junco, chickadee, thrush, flicker and finch.
Check the weather—It may seem shocking that now is the time to start watering but its true. Here in the rainshadow there may be drizzle, but often if you poke the soil you will notice how shallow the moisture extends. The Dept of Ecology has announced a statewide drought emergency due to the low snowpack. although we currently have a dry forecast, El Niño is rapidly changing into La Niña so the forecast may change.
Cultural practices
Avoid overhead watering that can spread fungal disease. Water the root zone. Water in the morning.
Avoid water splash from soil. Prevent the spread of phytophthera of tomatoes
Prune for air circulation, avoid overcrowding, learn how large plants will grow.
Prepare beds with compost. Home-made or bought. Spread 1”-3” deep.
Handy tool for determining how much your garden can use;
Monitor for pests
Tent caterpillars, winter moth, European sawfly on currants,
Vegetable starts; plant the hot season cucurbits and tomato, peppers and basil.
Plant dahlia tubers: Late summer here is often warm and dry providing dhalias with the perfect weather to display their amazing variety of flower shapes and colors.
Spring-flowering bulbs: This time of years the daffodils and tulips and smaller bulbs can look tired. Keep them healthy by removing the spent flower to prevent the plant from making seeds. We want all the energy going into nourishing the bulb, so let the foliage remain until it dries out completely. If you are a real neatnik who enjoys labor-intensive gardening that can be relaxing and meditative, consider braiding the narrow foliage of daffodils and snowdrops. To avoid big gaps when the foliage is gone, consider interplanting with native bleeding heart, Chinese for-get-me-not, or love-in-a mist, calendula or annual poppies.
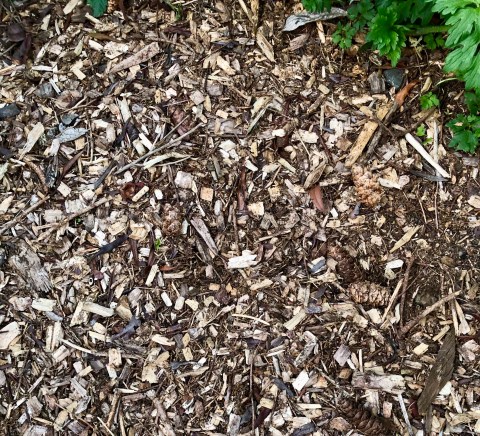
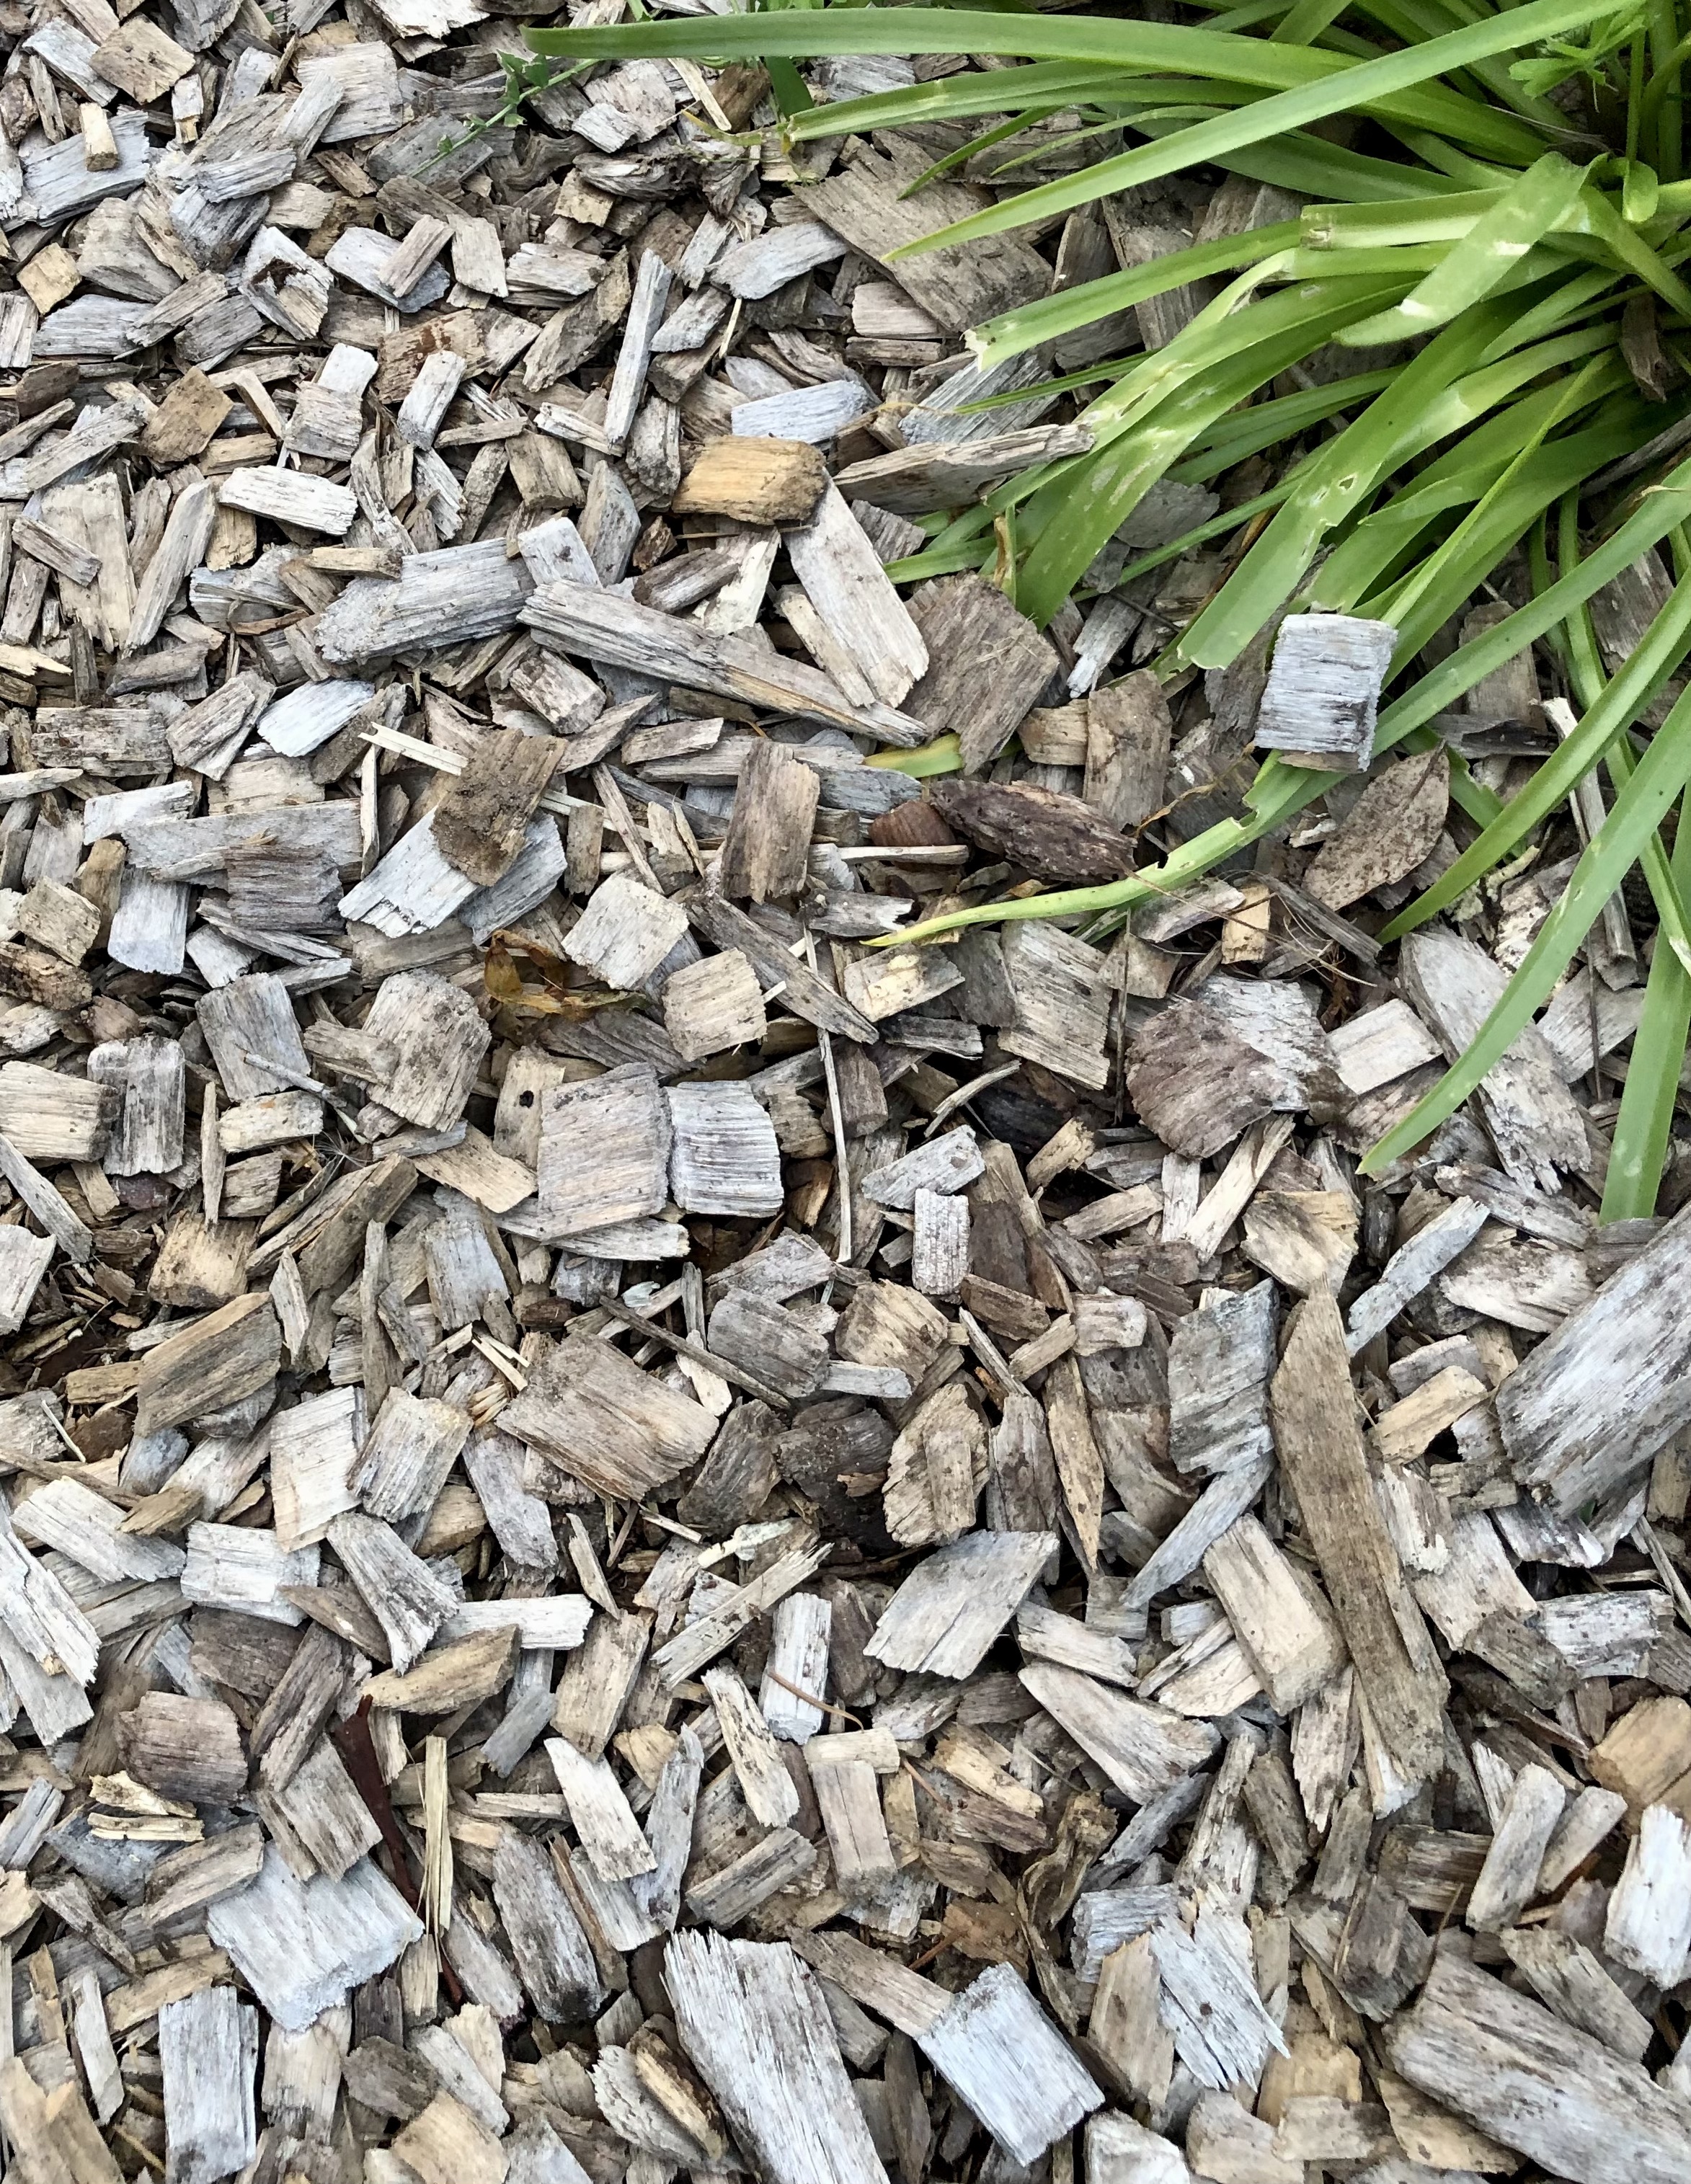
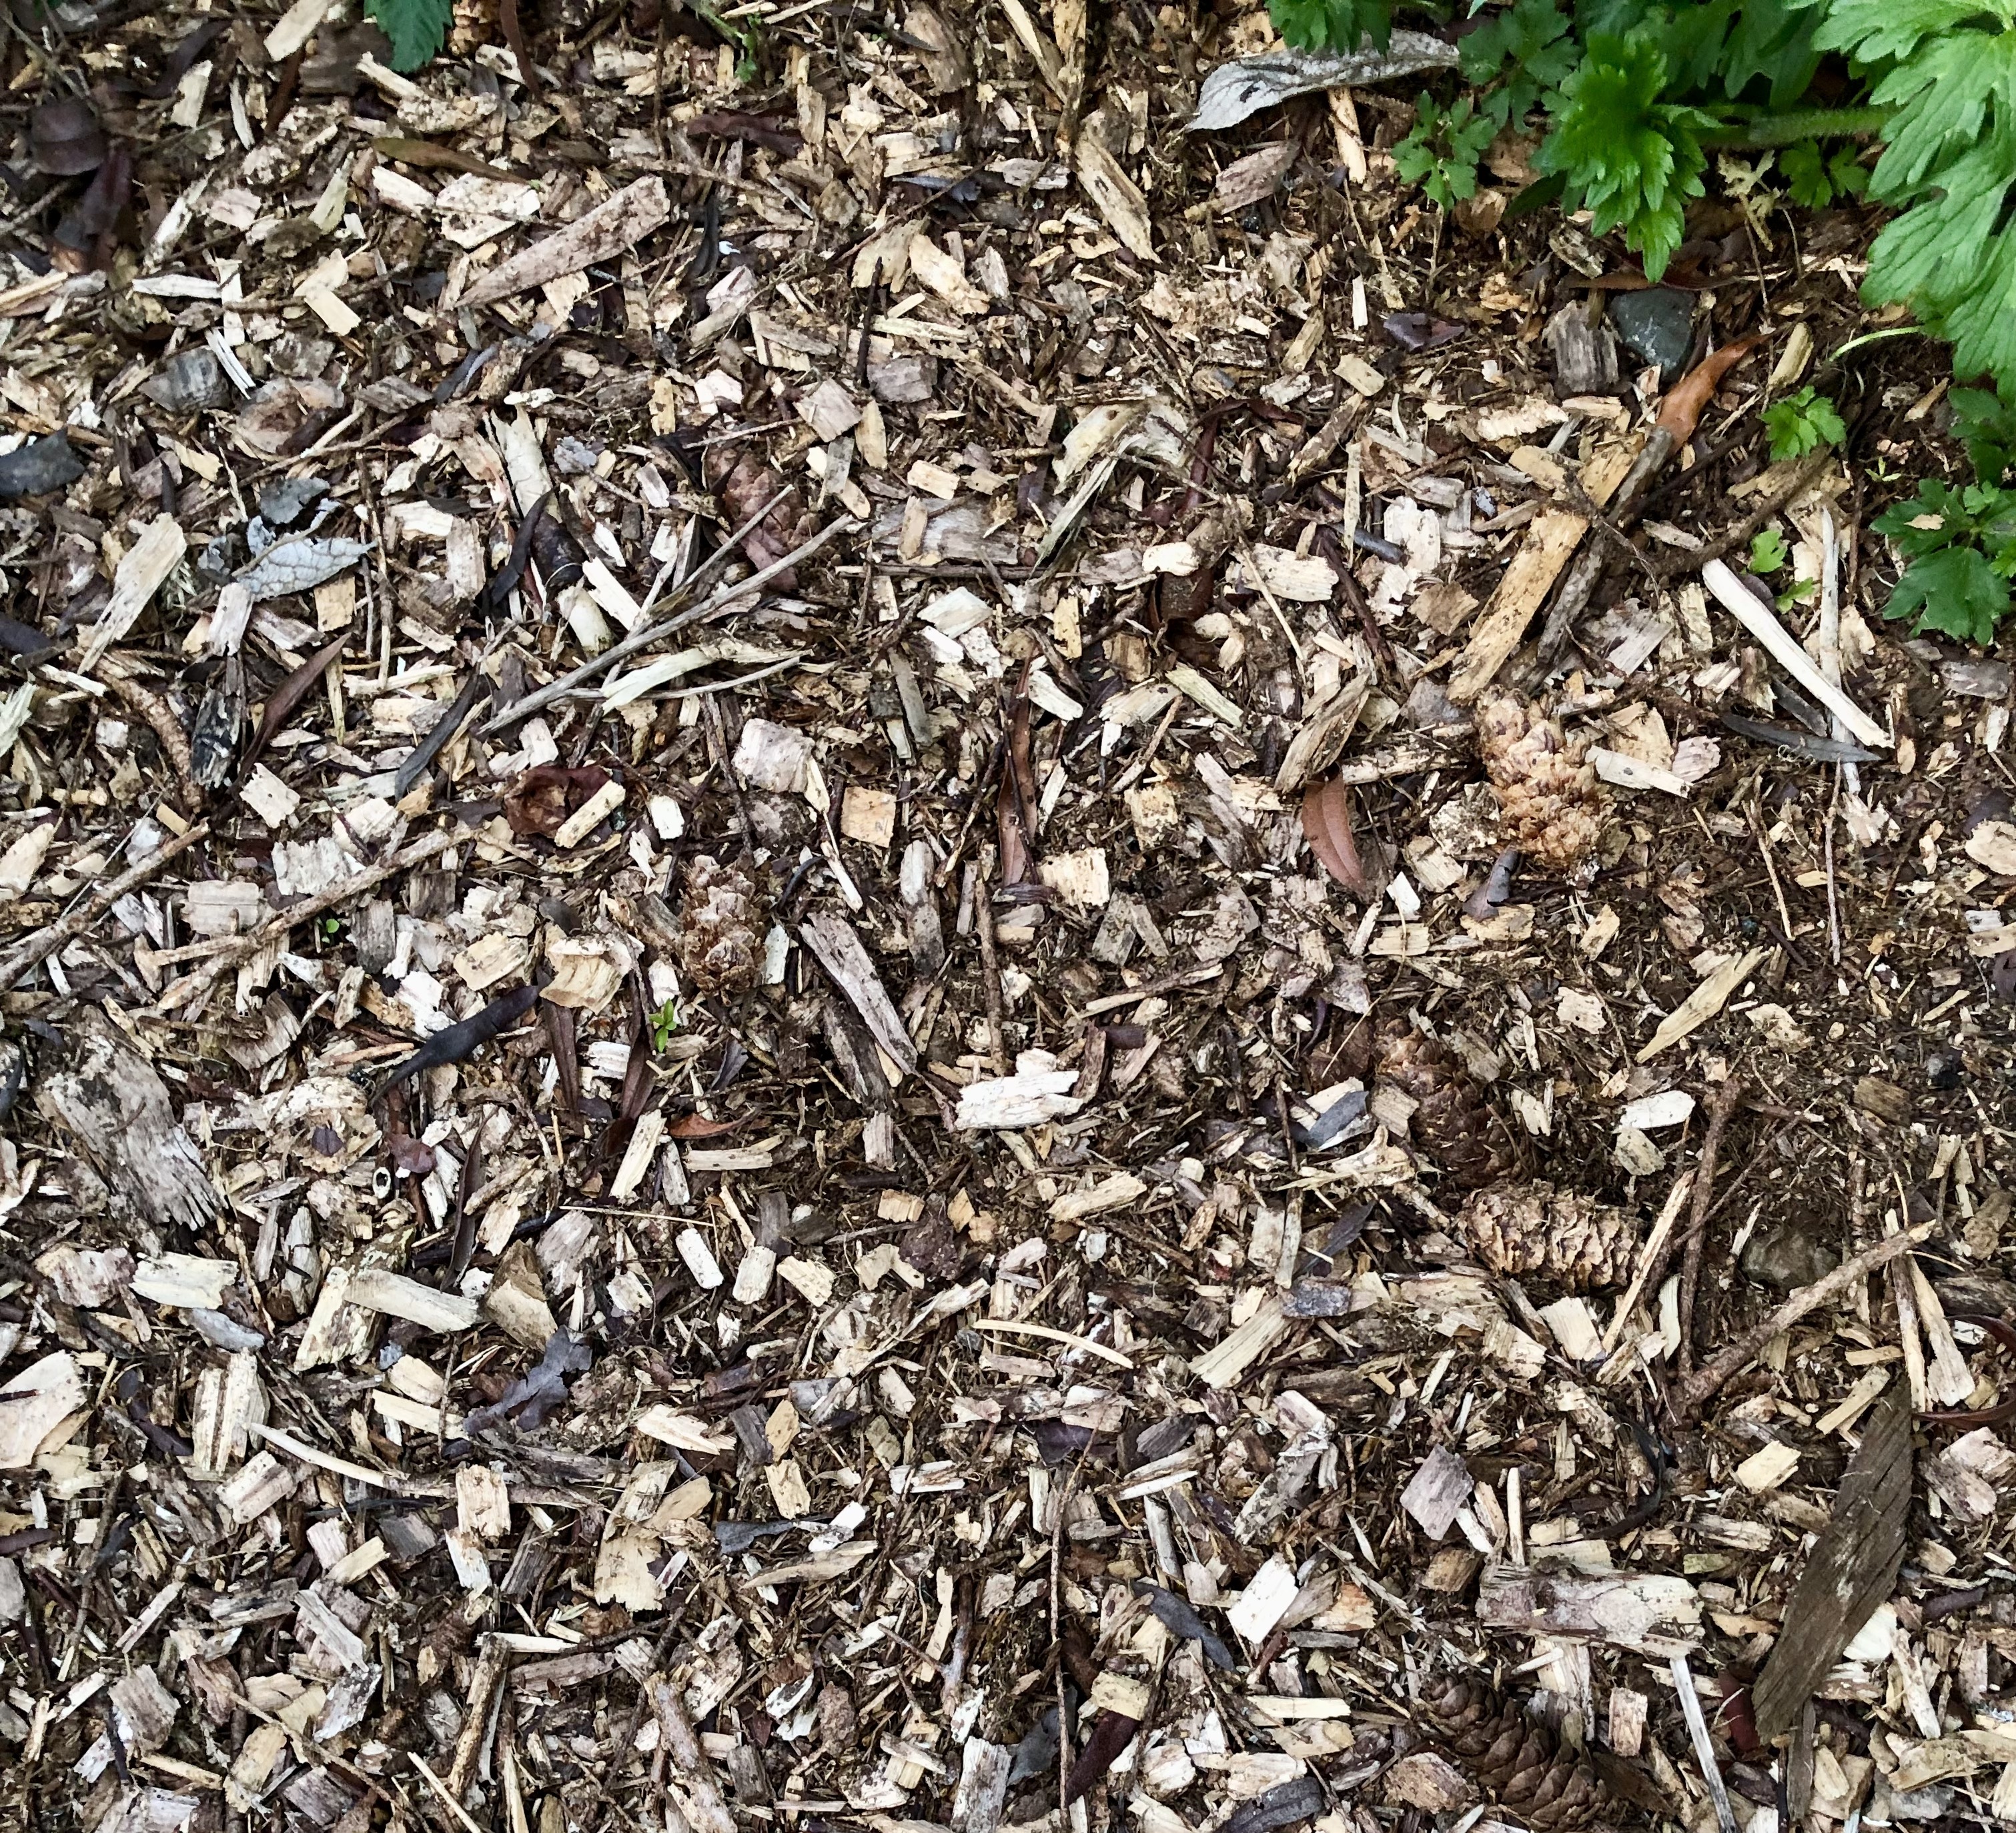
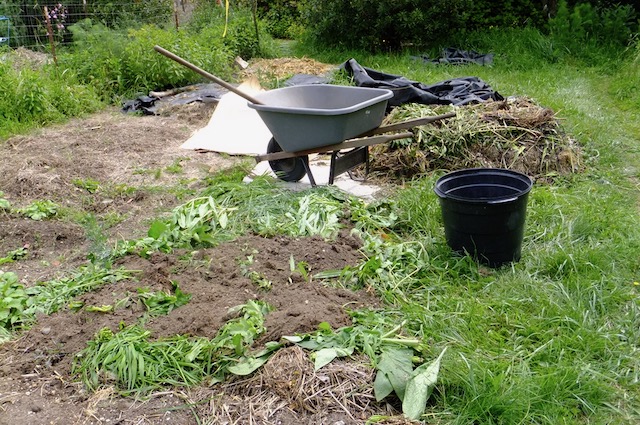
Mulch not only conserves soil moisture; it prevent weeds and soil erosion; improves the soil tilth; and protects it from temperature extremes.
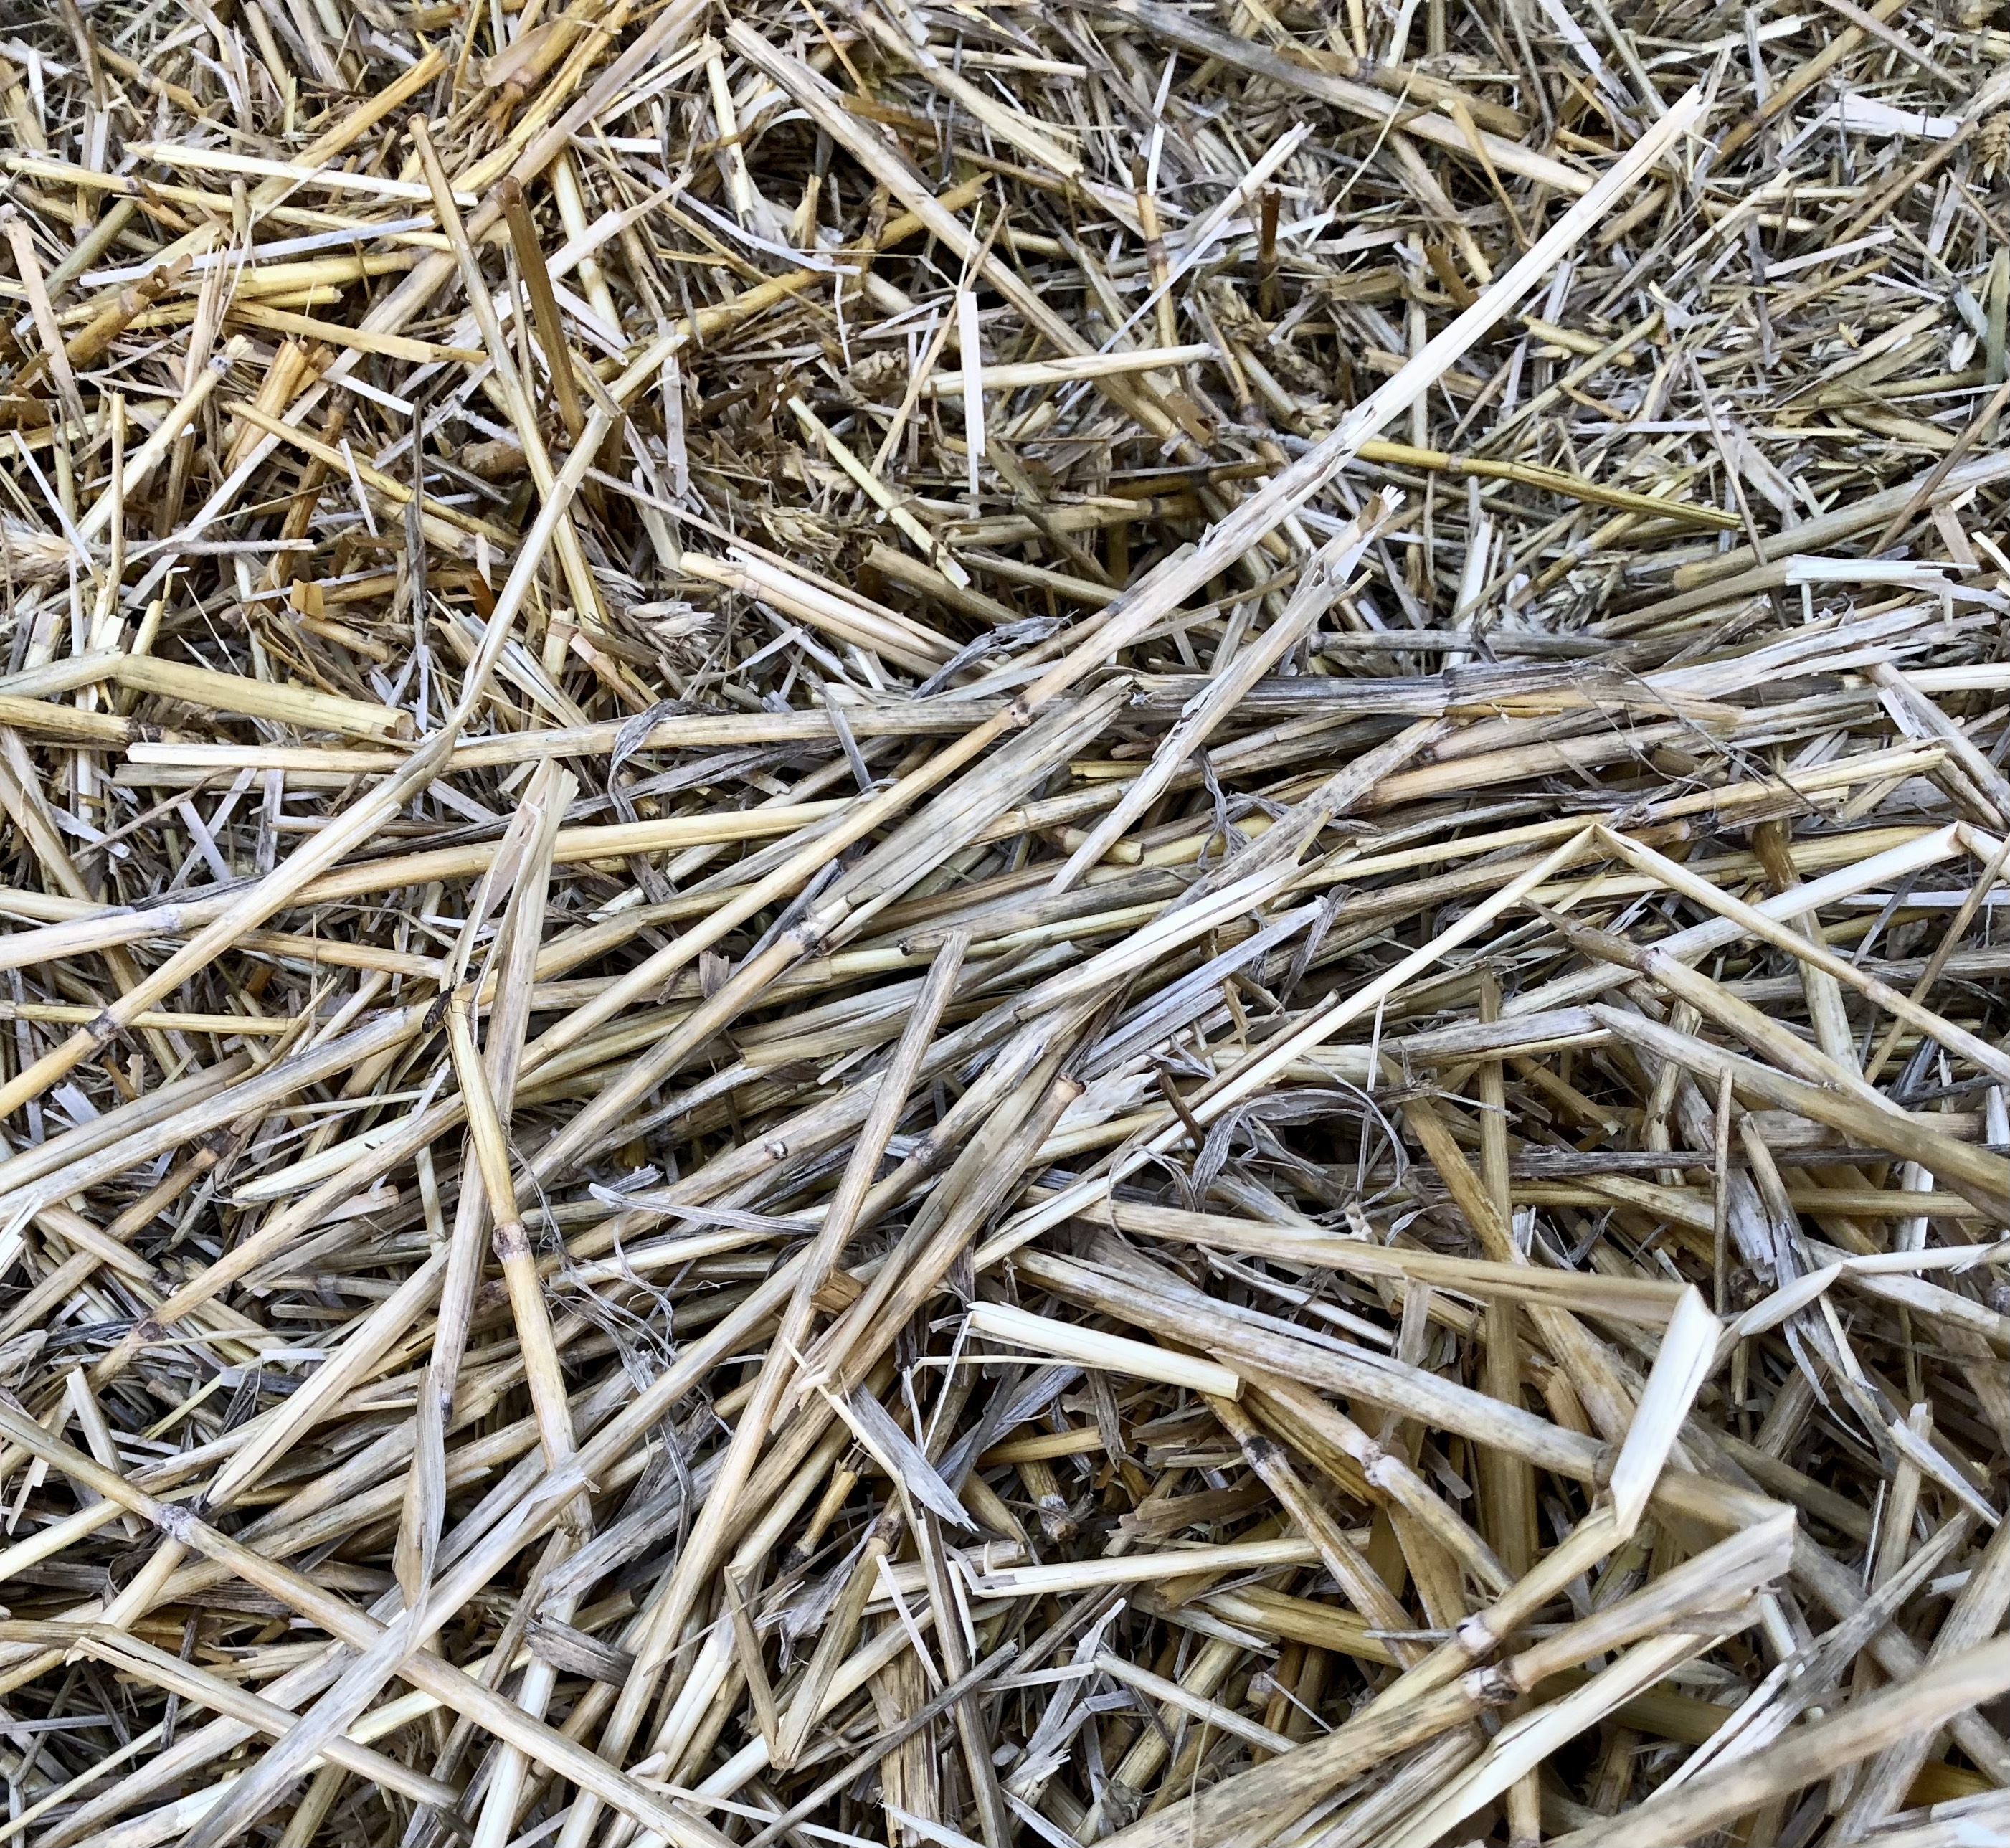
Good mulch decomposes in a year or two and improves the soil. And needs to be reapplied. Examples are arborist’s chips, shredded leaves and compost Most bark mulch, like fir bark and beauty bark add a top layer that doesn’t break down to add organic matter, but instead sometimes creates a barrier to drip irrigation moisture reaching roots.
Different Mulches
Alder chips: Long lasting mulch with a uniform appearance . Wood eventually breaks down adding carbon.
Arborist chips: has small branches and leaves chipped by arborist and road crews. If you let it decay first it provides great organic matter. Adds both carbon and nitrogen. Rough appearance but great for improving the soil. Great in orchards and ornamentla shrubs and trees.
Straw: use in vegetable gardens and be on the look out for slugs and snails.
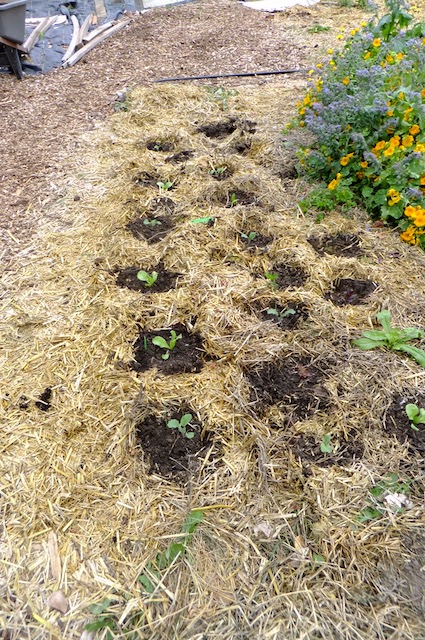
Sheet mulch: Layer about one foot of garden waste (no weeds that are going to seed). Dig a large hole for the vegetable transplants, add a quart of compost and plant.
Rotted cow manure: is mostly free of weeds and has a uniform appearance. attractive as top-dressing for perennials and vegetables.
Aged compost: excellent in vegetable garden and with flowers. May have weed seeds.
Spread mulch about 1 inch deep for vegetables; 2 to 3 inches for perennials; and 3 to 4 inches for shrubs and trees. Be sure to keep the mulch a couple of inches away from their trunks.
When adding powdered fertilizer to the beds of ornamentals and perennials add directly above the rotted cow or horse manure, or the rotted arborist chips. If you are using alder chips then pull away some of the chips to scratch the fertilizer directly into the soil.
Sheet mulch bed with seedlings in compost
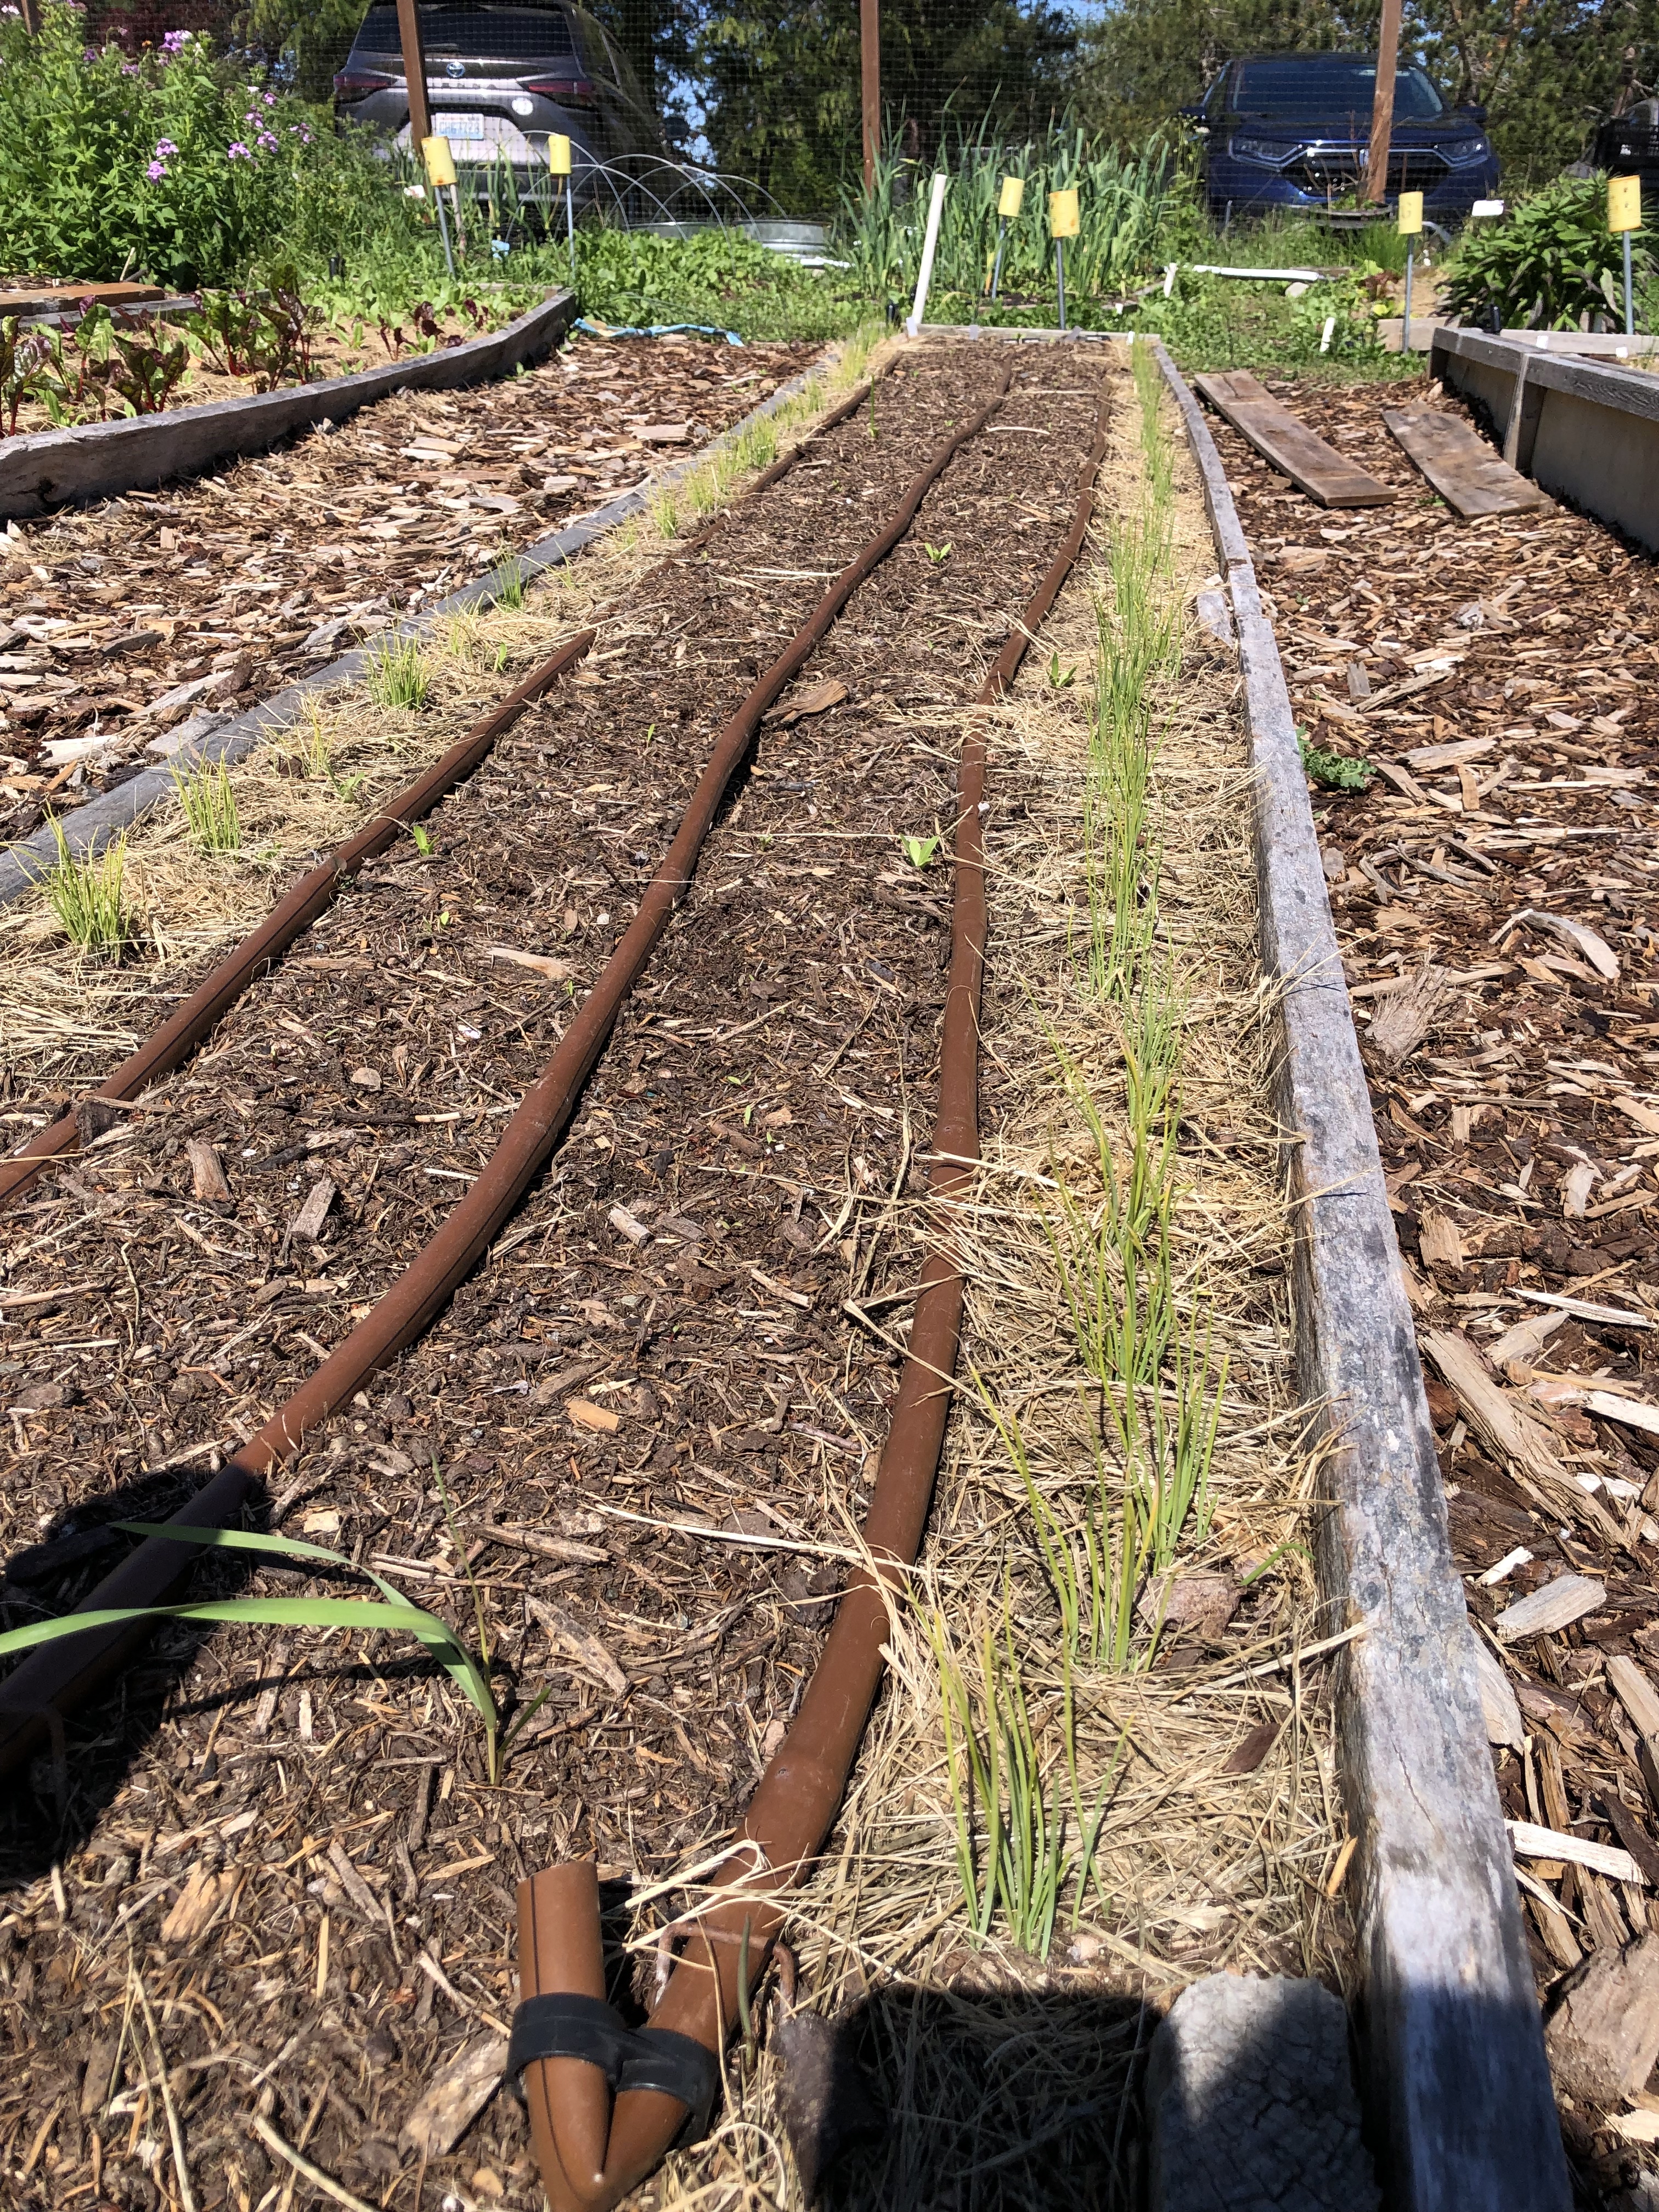
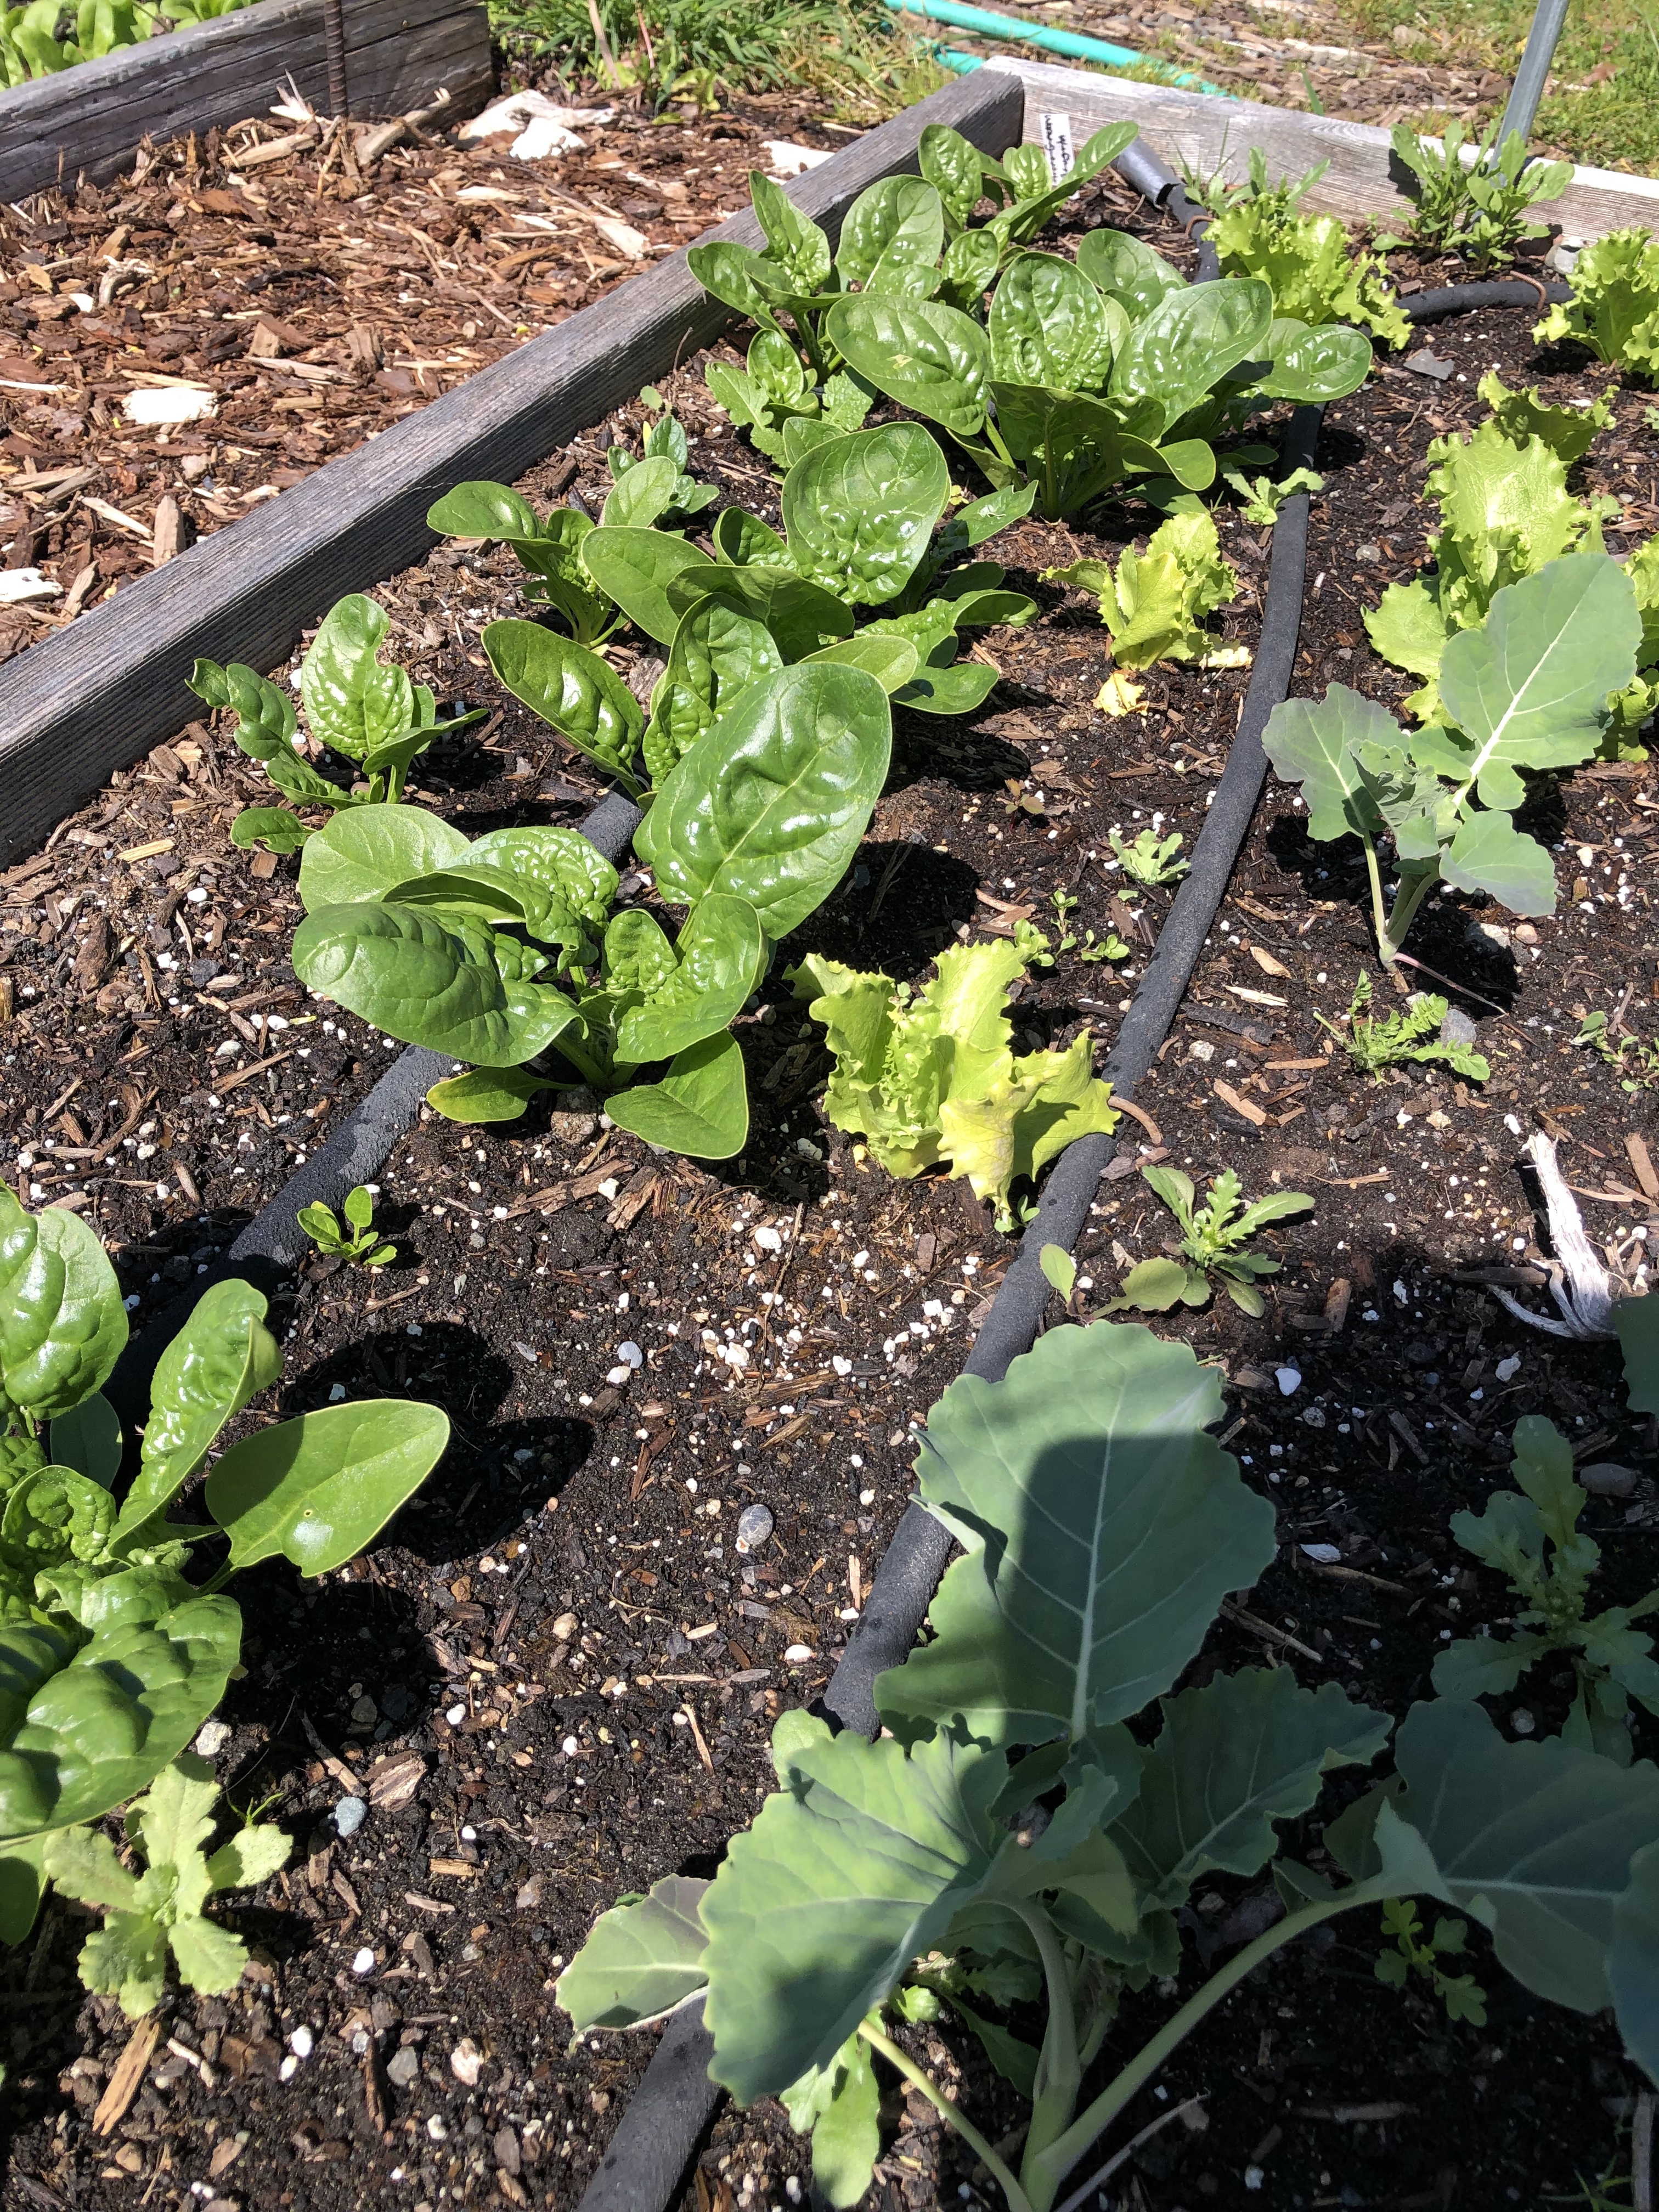
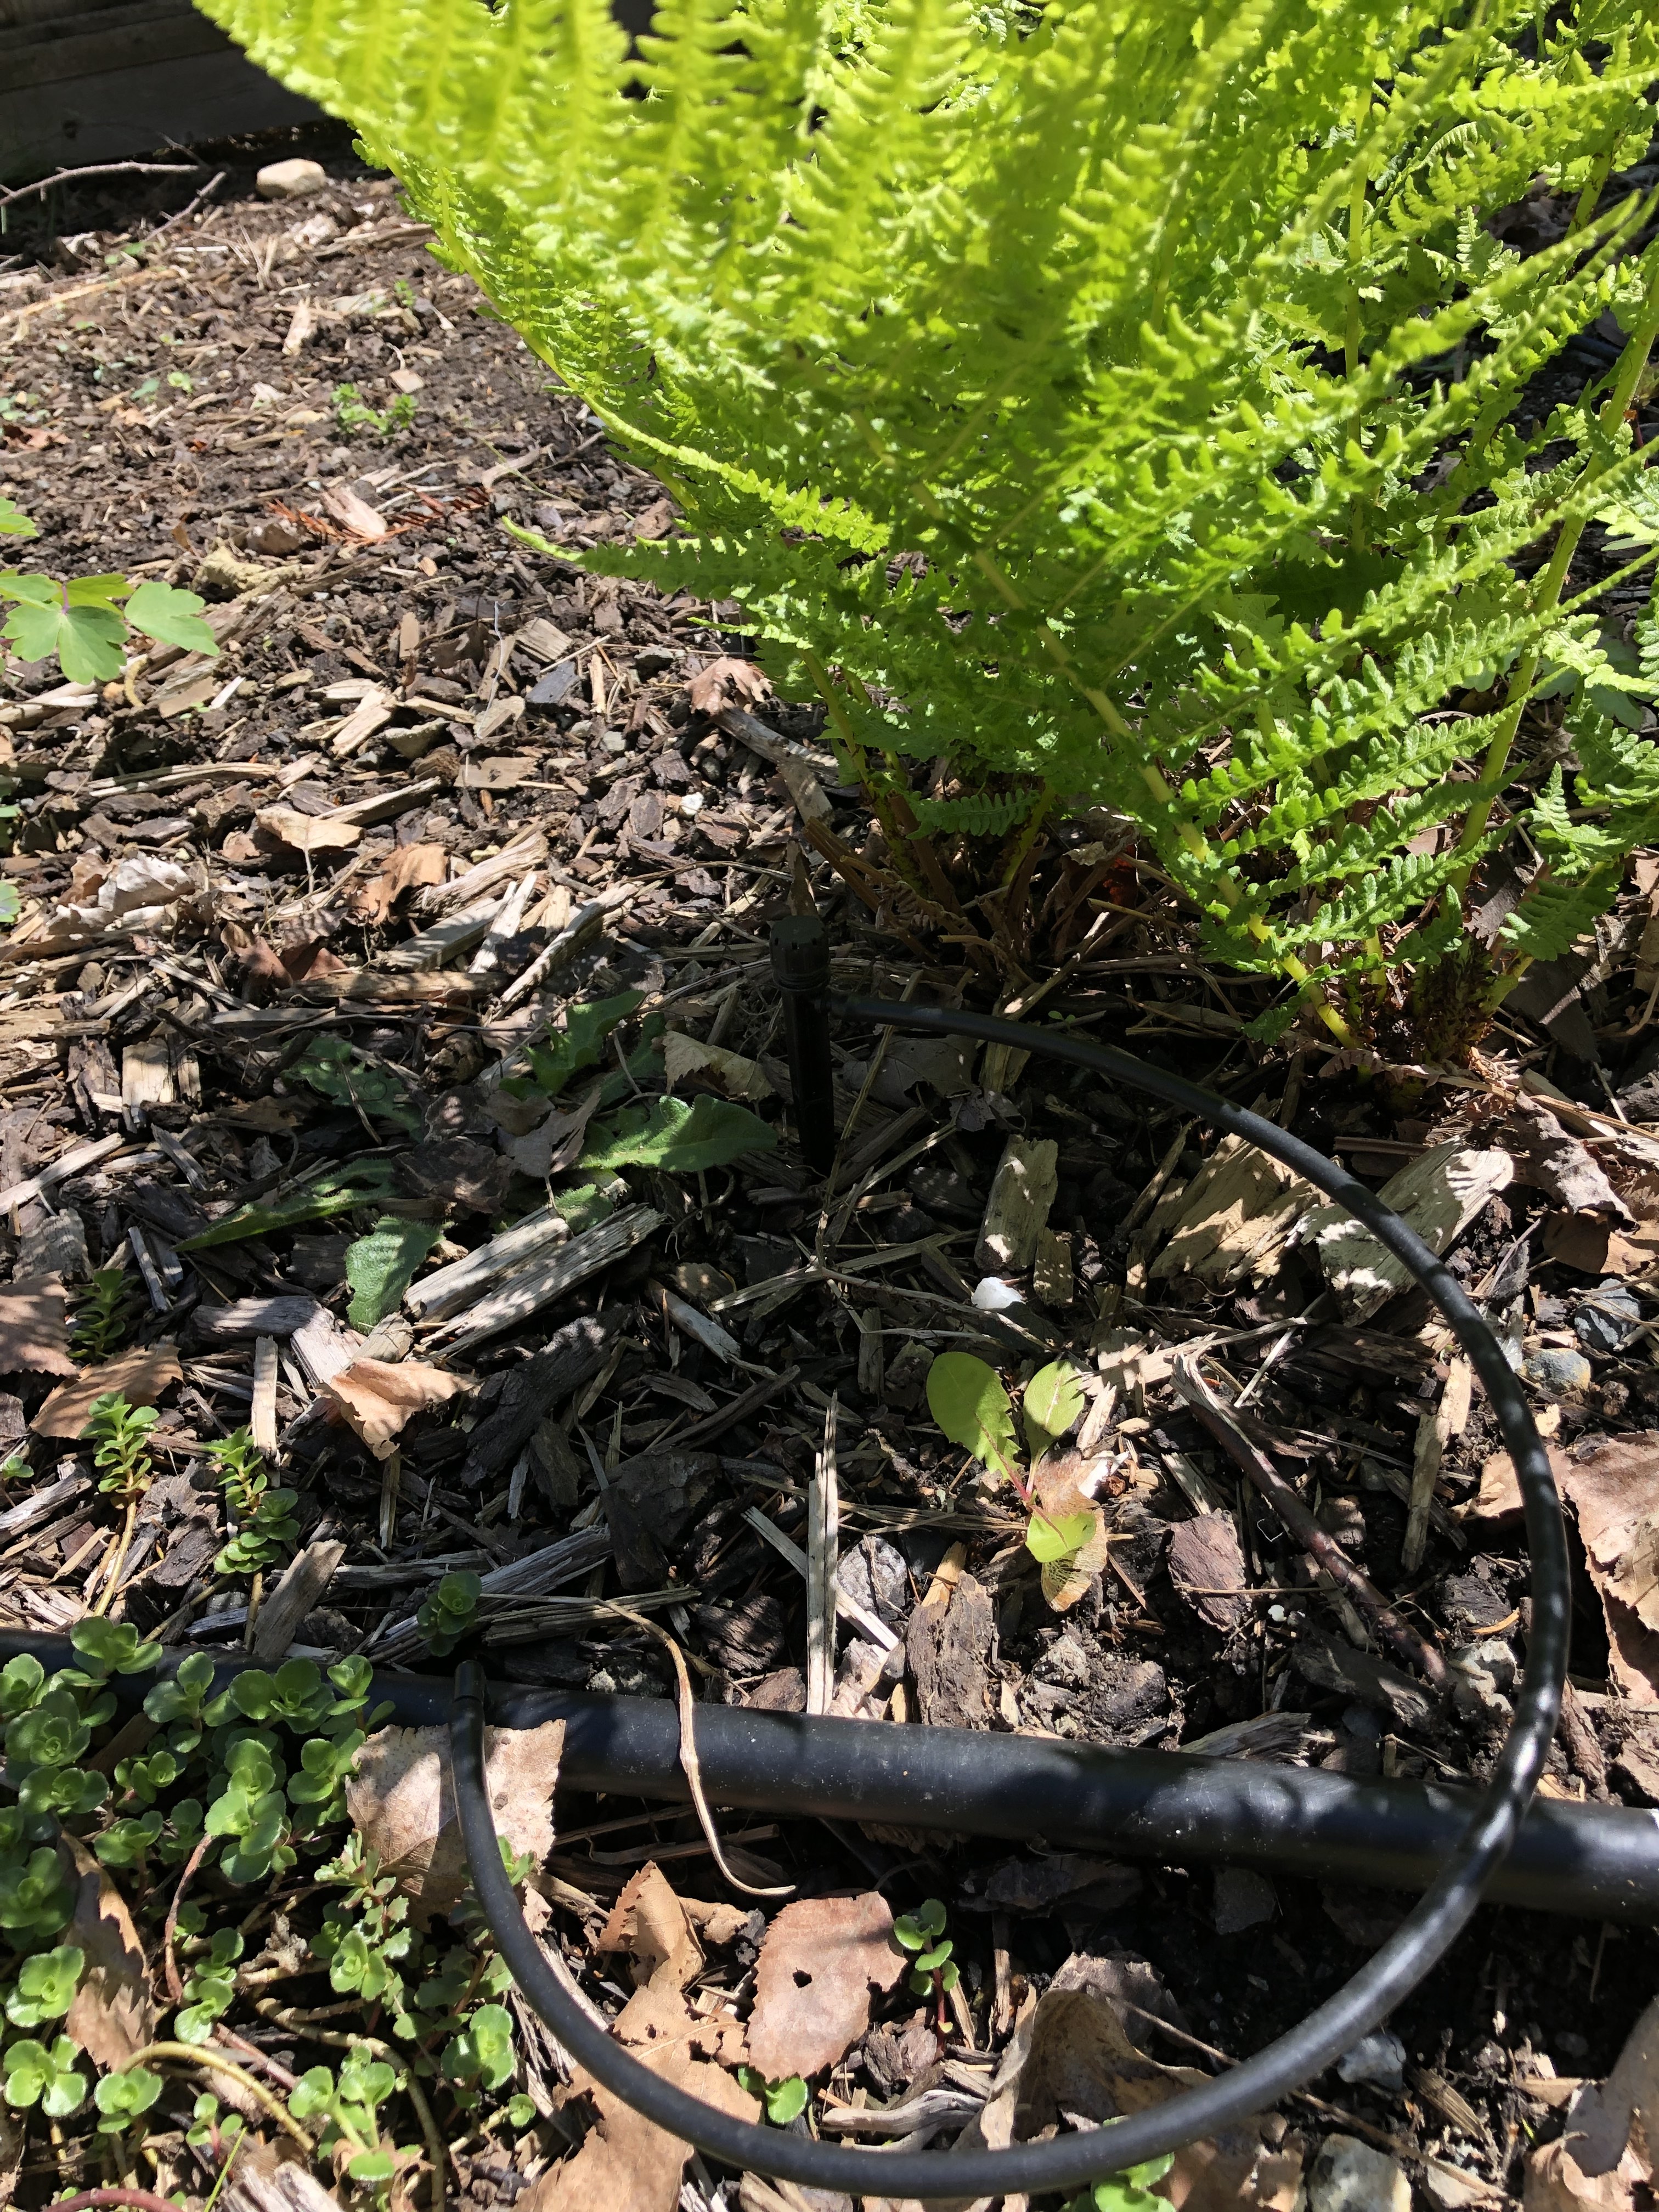
Drip Irrigation
Photos of the Quimper Grange Food Bank Garden drip-tape and porous tubing.
Besides helping the environment by using drip irrigation, you can substantially lower your water bill. It’s possible to make back the cost of purchasing a system in one or two seasons. A great educational resource with how-to videos is Dripworks
Personally, I have been resistant to using drip irrigation because of all the plastic and the need for repairing cut tubing. But I’m ready to make the switch.
In ornamental gardens, drip emitters are frequently used to water individual plants. Keeping the tubing above ground is one way not to damage it while planting and weeding. A landscape spike dripper can raise the emitter off the ground.
Micro jets put out more water than drippers. This is useful for fast-growing, thirsty plants and for sandy soil. Timers keep everything on schedule.
My attitude about growing flowers changed the day I visited my friend Renee at her cabin in the Santa Cruz mountains, California. At the time I was a twenty-three-year-old horticulture student. I sat at her kitchen table, eyeing the room, when I noticed a bouquet on the kitchen table.
It was an arrangement of fragrant flowers with lavender, roses, delphinium, and baby’s breath. My internal dialog commented, “Oh those are probably from the UC Santa Cruz Farm and Garden.” It was a dismissive thought. You can’t eat them, what’s the point.
Then it dawned on me—I had picked those flowers and arranged this very bouquet, just two weeks before. My sister was then apprenticing at UCSC Farm and had invited me to gather a bouquet for Renee, a new mother. Stunned, I saw my bias. Flowers seemed frivolous, when I was on the revolutionary-edge of organic food growing in 1980.
That was the incident that changed my life, it was okay to love flowers as I always had. After getting my Horticulture degree, I apprenticed at Camp Joy in Boulder Creek, CA. I learned to sow seeds in wood flats; tend young seedlings in the greenhouse; and plant them in double-dug raised beds.
Twice a week, before the sun rose over the mountain ridge, we harvested flowers and placed them in large tin cans in the shade of the gazebo. I was taught that the key to selecting young flowers was in the reproductive parts. I became skilled at noting if a flower’s stamens were moist with fresh pollen or not. Daisy-like flowers, with their disk and ray flowers were easy, once the secret was revealed. Bending down to look closely at the yellow center one could see if the rings of tiny flower parts were all open, if so then the flower was old. But if just a couple of outer rings of disk flowers were open, it was prime for harvesting.
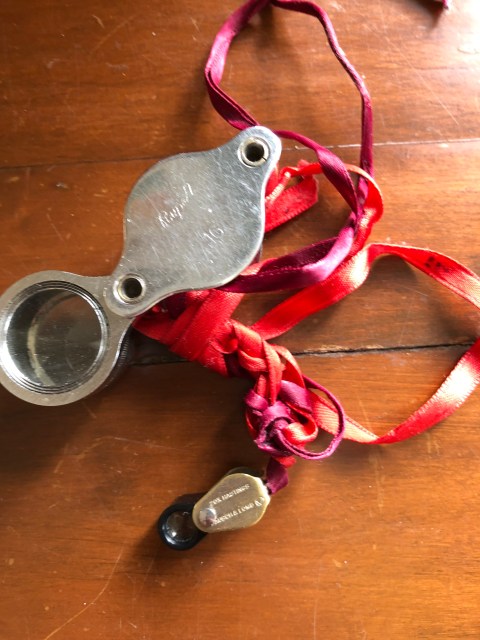
The day I purchased my 20-magnification hand lens, the world of insects opened up. Looking through this loupe was like landing on a planet. By placing the lens close to my face, my hand on my cheek bone to steady the lens, I moved in close, a spaceship landing on a miniature floral world. The intricate textures of leaves, flowers and seeds were mesmerizing. I peered deeply into a flower chamber, translucent in color, while male and female flower parts became giant. I imagined myself a tiny creature crawling over these exquisite sculptures.
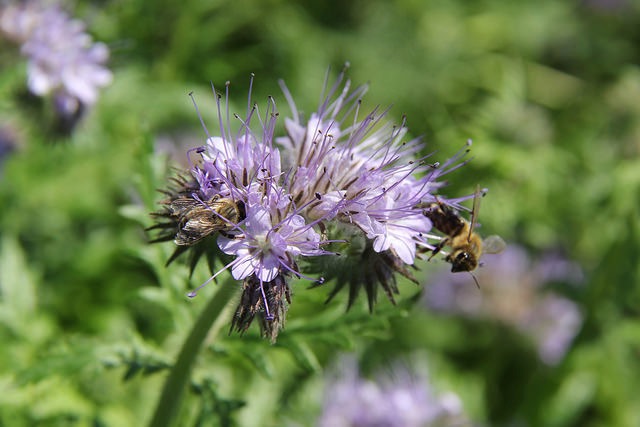
Honey bees on Phacelia
I had to study insects in the horticulture program, after all the little buggers ate our crops. But we also learned of beneficial insects–predators and pollinators. There was humor in considering the caterpillar as a juvenile delinquent chomping on the parsley leaves, but then when the caterpillar metamorphosed into the Swallow-tail Butterfly, it pollinated flowers like a mature, contributing citizen.
Getting to know insects became part of understanding the garden ecosystem. Like a bird-enthusiast with binoculars, I sought insects with my lens. This requires patience! At first recognizing the different creatures based on their anatomy—wings and mouth parts being essential clues, eventually I moved on to noting their behavior.
Over the years I have watched green lacewings laying eggs; each on a solitary stalk. These predators are so voracious, the emerging young would eat the surrounding eggs if they were not out of the way. Also, I have seen lady bug larvae that look like giant Gila monsters gobbling up aphids. And no lie, I have watched aphids pop out live babies.
Learning about pollinators in my backyard offered me the chance to slow down, and become curious. Did you know that a butterfly can taste with its feet? That when it lands on a petal that has nectar-bearing flowers that its siphon-like tongue unfurls? I have seen this. It takes patience, but watching insects is a form of miniature wildlife viewing.
Bees can see colors invisible to the human eye. Foxglove flowers have ultraviolet circles around maroon spots, marking a trail to lure pollinators deep into the trumpet bloom where a reward of pollen and nectar await.
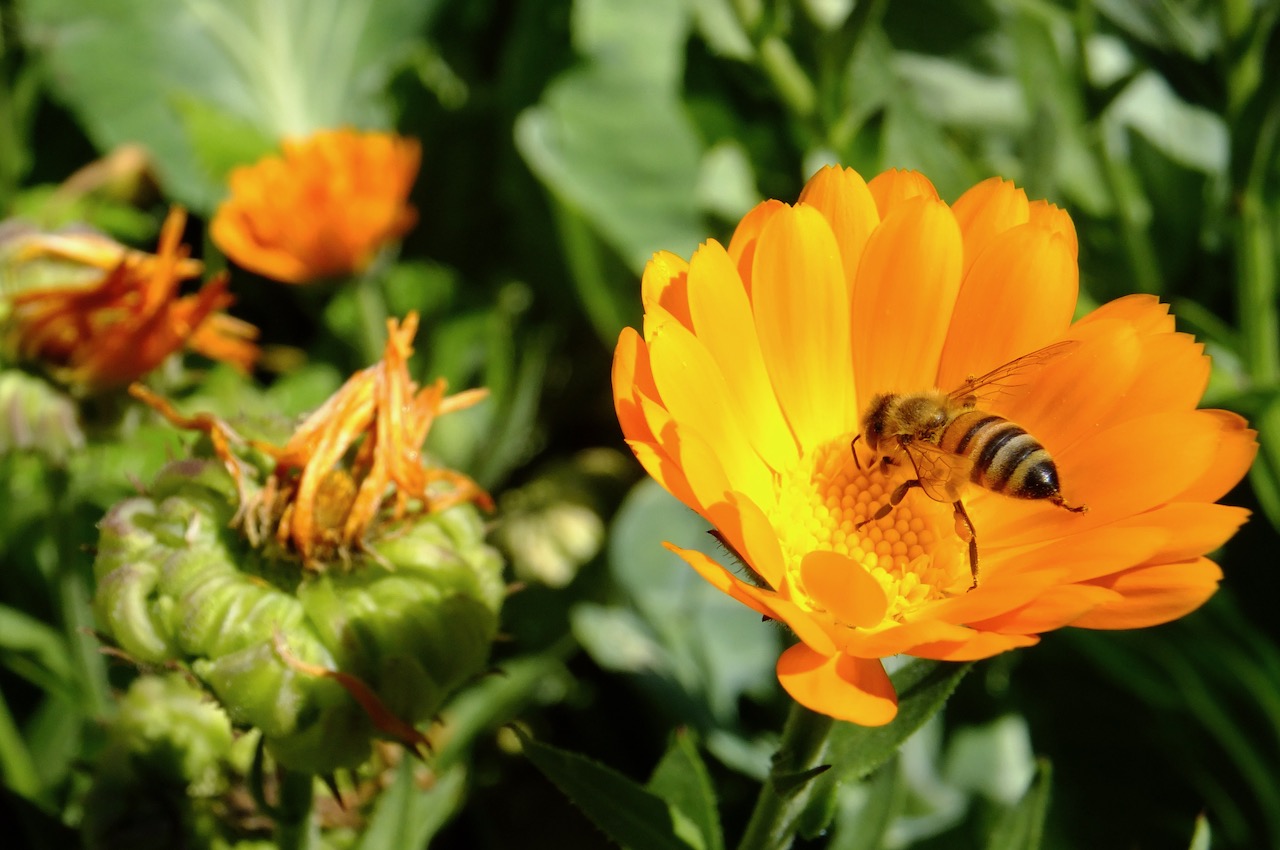
The honey bee is but one of many kinds of bee. Native to the Mediterranean, and introduced around the world, it is a generalist, pollinating many flowers. And yet, it shares a characteristic with all bees that make them the premiere partner for flower pollination—floral fidelity. This means on any given foraging trip they only gather pollen from one species. Efficient for the insect and fundamental for the plant to produce seed, bees are the most important group of insects.
Scientists now know that bees are a keystone species–creatures necessary for the survival of other organisms in an ecosystem. Keystone species are referred to as the glue that holds a system together–without them an ecosystem may not be resilient enough to adapt to climate change. There are native flowers that depend on one or two types of bee to pollinate them.
Also, bees and other pollinators are responsible for food crop pollination. According to the USDA, bees, both honey and native are responsible for the pollination of 75 percent of fruits, vegetables, and nuts in this country. Another way to look at it is one out of every four bites of food can be traced back to pollinator services.
Jim Nelson at Camp Joy, a beekeeper, told me something I never forgot. “Imagine yourself tiny, the size a bee. As you approach a flat-topped white yarrow, a Sedum Autumn Joy, or a sunflower, you would see an entire field of flowers.” A bee’s-eye view of the world makes me want to plant these flowers and patiently watch the insects that come foraging.
Most garden centers are temporary holding places for potted landscape plants. Freshly delivered plants from a wholesaler tend to be healthier than shrubs sitting in the yard overwinter. During dry spells in summer, note if the plants are getting watered or if the potting soil is dried out. Avoid plants that look like they have been sitting too long at the nursery.
Foliage
At the garden center, look at the foliage of the plant you are interested in. Sometimes it helps to step back and note all the plants of the same kind in pots. Look at the color. Is the overall color dark or bright green? (Of course, some plants are bred for other colored foliage including burgundy or yellow.) Avoid browning, yellowing, or wilting foliage. Are there pale or dark spots? Is the one you want fresh and healthy? A couple of sad leaves are okay—here we are looking at the overall health. Even if it is on sale, it is not worth it, unless you love tending sick plants or are a skilled gardener. Starting with the healthiest plants creates a vibrant garden.
Roots should be firm and white, not mushy or brown. They should mostly fill the pot but not be completely root-bound. A web of young roots filling the pot is okay but not thicker roots. Often at planting we use a knife to cut off slices of the rootball to allow new growth to spread out.
Structure and Overall Form
Now look at the woody stems of this young shrub. Do they join at the base? Sometimes several separate young plants are potted together to give the impression of a healthy big plant. Is it worth the price if your plant is really several juvenile ones packed together?
If the plants are healthy individuals, look at the way the stems are growing. Sometimes the plant is misshapen because all the pots were packed together and can be pruned once you get it home. Other times if you hunt through the offered plants you can find one with more uniform branching. It is worth taking the time to examine several potted shrubs. In any event, once you get the shrub home and dig a hole for it, turning it around in the hole can reveal its most attractive side to face out.
Asparagus shoots are emerging–here is a crop to test our commitment to delayed gratification! Some clients have told me they tried growing asparagus but gave up. This perennial vegetable requires a dedicated bed and will produce for decades if well-tended. Growing asparagus well is time-consuming; let’s look at what it takes. One trick is to prepare the planting site well in advance.
Preparing the bed: Diligently remove all perennial weeds and prevent them from getting established. Add lots of organic matter and water deeply until the plants are established. If the soil is heavy clay, prepare a raised bed. Wait a couple of years before harvesting to allow the plants to get established.
Harvesting: Begins for a couple of weeks in the third year. Snap or cut the shoots at the base. After about five years, harvest for almost 8 weeks or as long as the shoots are vigorous and finger-wide. Stop harvesting before emerging shoots are spindly. By allowing the fronds to grow and nourish the plant, we prevent the plant from losing vigor.
The plants are either male or female. They are sold in nurseries as 1-year old crowns. All-male varieties have the advantage of bigger shoots. Growing them from seed means you will also have slender female plants that put more energy into producing red fruits and seed. Be sure to remove volunteer seedlings so they don’t crowd out the initial crowns. In the autumn after the plants turn yellow, cut them to the ground.
Staking: Do you lean more to the aesthetic or very efficient gardening mode? An asparagus crop is a prime candidate for edible landscaping with its ferny leaves. Stake individual plants or use a horizontal trellis (used for growing long-stemmed flowers) to allow the ferny fronds to sway a bit.
If you have a no-nonsense, efficient approach to the garden then plant them in a row and place wood or metal posts at both ends. Once the plants are tall and start to bend, string a line from post to post and pin the plants in as the plants mature. A month later twine another string about a foot or two above the first to hold them in place. In any event, asparagus is a delicious addition to the garden.
Honey bees, the most popular bee species, with their matriarchal colony and delicious golden product are but one kind of bee. Before the European colonists came with hives, there were no honey bees in this country. Forgotten pollinators are the mostly unseen bees and other insects that live among us. Such keystone species are the glue that holds ecosystems together. Honey bees come from dry lands around the Mediterranean and are not inclined to forage in cool weather. This makes them unreliable pollinators for orchards during our damp and chilly Pacific Northwest springs. One type of native bee that thrives in our climate is known as the mason bee. This bee does exist on the Olympic Peninsula. Tinker Cavallero argued with me that I should not be introducing mason bees that were not native here. I went ahead because I wanted the assurance that my trees would be pollinated. (How often do we make choices that are good for us individually but not necessarily good for the planet?) after discovering how mismanagement of mason bees can be more harmful than beneficial, I decide not to buy more.
Raising mason bees requires providing clean nesting boxes. Ten years ago we learned that ‘bee hotels’ were breeding grounds for disease. If you insist on raising them use tubes with straw inserts that can be disposed. Better yet, use native plant stems or other hollow plant stems. In the next article I will provide more information. In the meantime, learn about our native bee populations by checking out a great book by our local native pollinator expert, Eric Mader. Attracting Native Pollinators
I wrote the following after much research. I wanted to understand the life history of mason bees. Insect watching for me is akin to bird watching; it’s another way to deepen a sense of place.
Natural history of a mason bee, Osmia
Her active life as an adult lasts no more than four weeks, and in that time, she may lay 30 eggs. Although this one Osmia only lives a short time, other mason bees continue to emerge until May, time enough to pollinate the apples and pears even if the weather is windy and cool.
It is springtime in Puget Sound. The days have been warming up consistently to above 50 degrees. Osmia, a mason bee awakes from its dormancy. This adult female is sequestered within a tunnel; a place that has been home for almost eleven months; from egg, to larvae, to pupae. Now she lies inside the clay abode, a fully formed adult with six legs folded beneath, while wings wrap over her pinched-waist and abdomen. The once-spacious tunnel is snug. She stretches one leg.
The fresh air of spring penetrates the mason bee’s solitary chamber, and stirs her metabolism. The urge to leave the cocoon grows stronger and she begins chewing her way out. Once out of the cocoon, she chews through the walls of clay that separates her from the outer world then crawls toward the light through other chambers recently evacuated by her siblings.
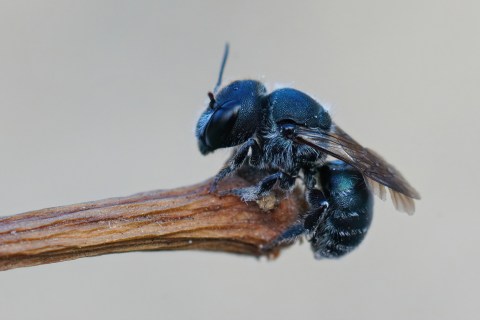
As she emerges from the tunnel, the light of day hits the mason bee. This metallic blue bee is almost a half-inch long, about the size of a honeybee, but more robust. She is covered in black hairs. To the uninitiated, she could be mistaken for a housefly. But her antennae are long and her eyes are definitely sleek, not bug-eyed like flies. Not only that, but she has two sets of transparent wings, whereas flies appear to have one.
Soon after she flies from the nest, a male approaches her. He has emerged a few days before from an adjacent tunnel. He is smaller and unlike the female, his abdomen is smooth, not covered in hairs; he does not contribute to pollination. After meeting his need for food by foraging for pollen his hormones urge him to mate. Not long after that he dies. After mating, the female bee’s job is to locate a nest site.
The fertilized bee goes looking for nourishment in the form of pollen and nectar. Bees forage through a sense of smell and sight. Scent plumes released by flowers attract her from afar. As Osmia draws close the flower reveals colors in the ultraviolet end of the spectrum that indicate where the pollen is. The earliest spring natives providing the bees with pollen include Indian plum and flowering currant.
Once fortified, she flies within a 300-foot radius of where she emerged, searching for a suitable nesting site. She may stay close to her home cavity–often mason bees are gregarious, or she may disperse. This Osmia is looking farther afield for a nesting site.
In the wild that would be an above ground cavity, maybe a hollow twig—brambles or elderberry twigs could work–or an abandoned insect burrow in a tree trunk.
A protected site is what she seeks. A patch of exposed soil should not be too far away.
The best nest site for Osmia would warm up early from the sun but be protected from rains. Here on the Quimper Peninsula, a bit of land thrust out on the northeast edge of Washington’s Olympic Peninsula, late winter rains come from the south and can be driven by wind.
She needs a tunnel about six-inches long for the brood she will lay. The diameter should be ¼ – 3/8 inch. In addition, this bee needs something to seal the brood chamber. Just as a mason requires a certain mixture of binder and moisture for his mortar to set, Osmia will need to find moist soil. Sand won’t work.
The mason bee flies into many potential cavities looking for the right home. Plants flattened in the winter are potential sites. Hollow perennial flower stems would be fine, just something that is not much bigger than her body. In the garden she might choose raspberry canes or Joe Pye weed. The bee hoovers before a potential cavity and then moves on. Now she sizes up a hollow stalk, grips the edge with her hind legs, folds her wings and enters. A moment later she backs out. The tunnel is just right. This bee does a zigzag flight dance memorizing the location and surrounding landmarks, before starting the next chapter of her short life.
Now that she has found her nest, her brood work begins. In March the earliest blooms in the orchard are Asian plums and then European plums. Back to the flowers, Osmia brushes up against pollen as she sips nectar. Minute hairs on her abdomen catch the pollen. The nectar gets regurgitated when she flies back to her nest.
The mason bee brushes the pollen off with her legs and mixes it with nectar to form a nutritious cake for each egg. It could take as many as twenty trips to gather enough pollen to form one ball of pollen; and then she lays an egg on it. The pollen cake within the chamber will dwarf the egg and provide the worm-like bee larvae with all the food she needs. Just as butterflies have complete metamorphosis and grow from caterpillar, to pupal cocoon, to butterfly, so too all bees undergo complete change.
Once she deposits her egg on the pollen ball, she seeks mud to seal off this compartment. In this way she forms a linear tube of four or five egg chambers. The ones farthest from the entry will all be female. Carrying the mud between her mandibles and front legs she returns to the chamber allowing enough space for the offspring to mature into a full adult. She releases the mud, packs it down, and flies off for more mud. Taking about ten trips to build one partition, wall building can take all day. If the weather conditions allow and the necessary food and mud are close by, the mason bee might lay two eggs on a particular day.
iStock photo closeup of a female blue mason bee, Osmia caerulescens.
Her active life as an adult lasts no more than four weeks, and in that time, she may lay 30 eggs. Although this one Osmia only lives a short time, other mason bees continue to emerge until May, time enough to pollinate the apples and pears even if the weather is windy and cool.
Larvae will emerge from an egg in a couple of days. This blind little worm will grow to about half an inch long after consuming the pollen cake in ten days. Without leaving its brood chamber it then spends most of its life in a cocoon waiting for next spring.
Adult mason bees activity lasts from March to May in the Pacific Northwest. Although this bee only lives a short time, other mason bees continue to emerge until May, time enough to pollinate the apples and pears even if the weather is windy and cool.
BULLET SIDEBOX
Xerces Society is a nonprofit organization that protects insects and other invertebrates. Consider their suggestions for garden maintenance. Pick one or two suggestions and try them.
5-Steps to Healthier Pollinator Habitat
1. Mulch less. Leave areas of dirt that can become mud.
2. Consider letting fall cleanup wait until spring. Perennial flowers & ornamental grass with hollow stems are most useful in horizontal position.
3. Leave tree stumps.
4. Place brush pile in unobtrusive places.
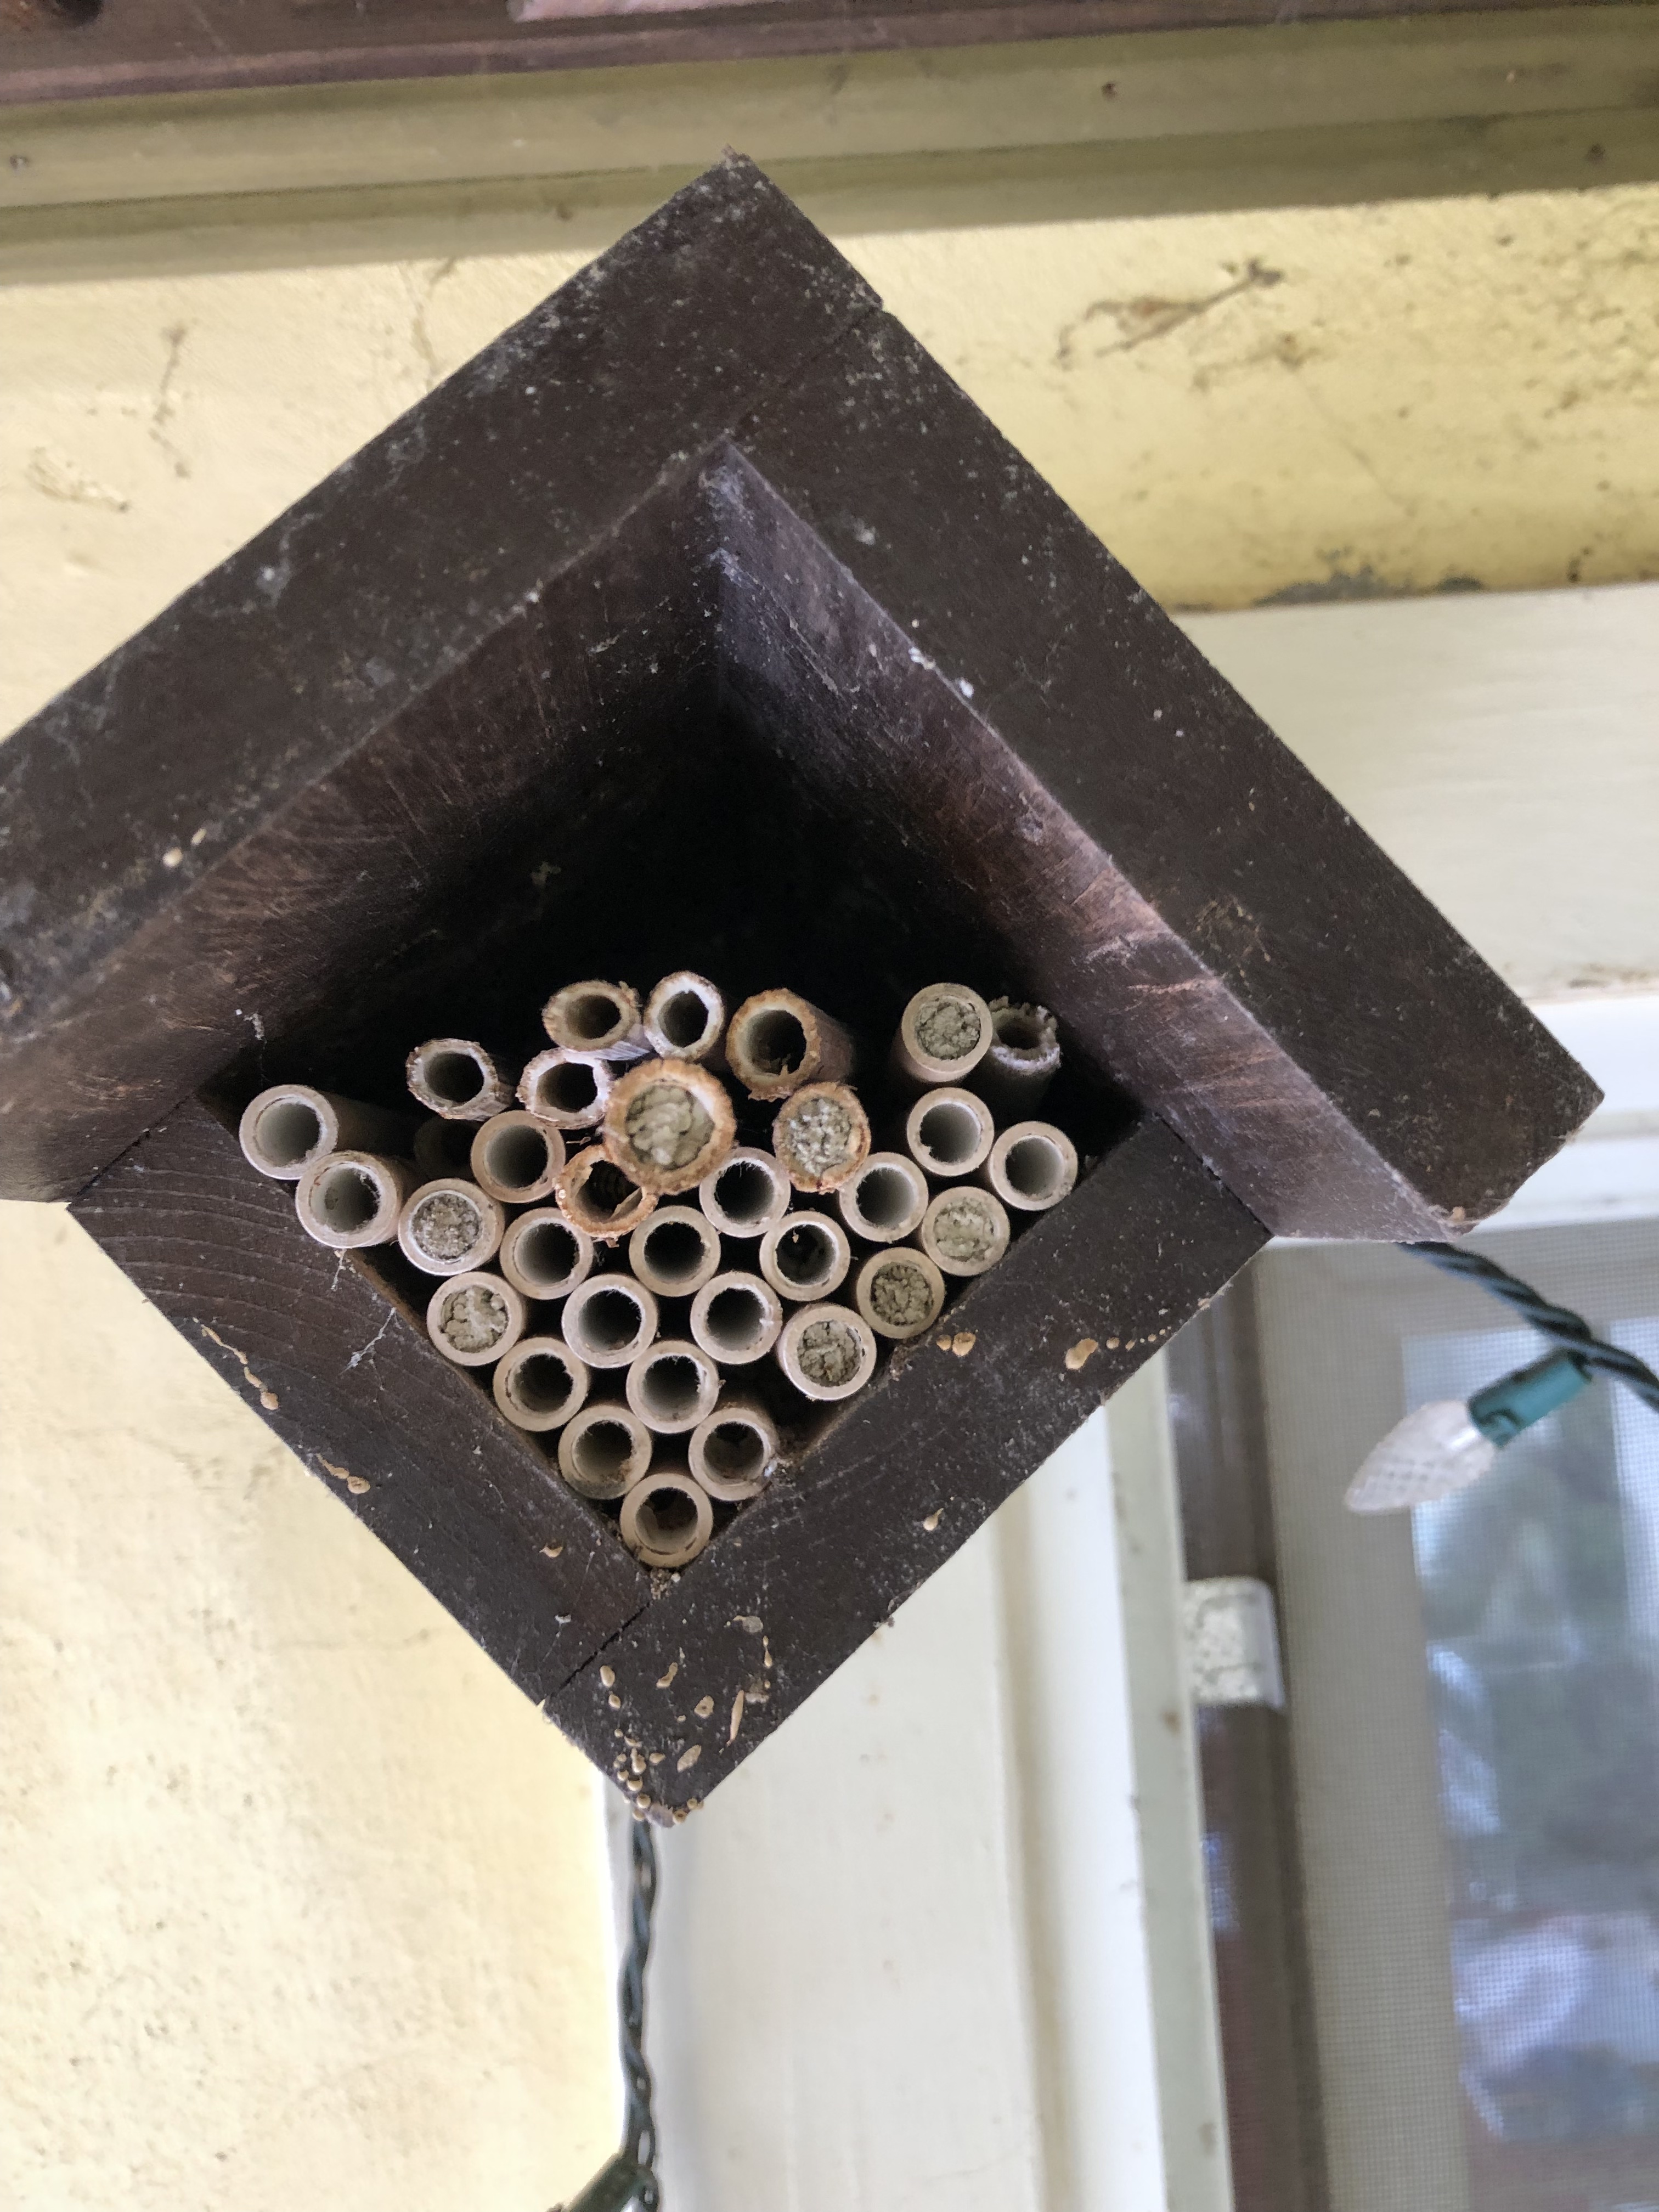
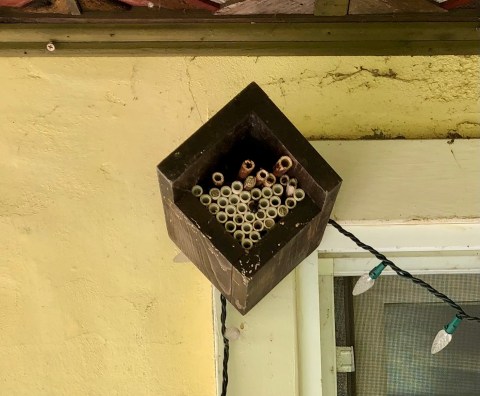
5. Make a new nest every other year and hang next to the old. Bundle up garden stems of raspberry or Joe Pye Weed, Eutrochium. Or use bamboo canes ¼ inch wide and cut behind the node. Discard the old one after the adults break through the mud and before they re-use the same tubes.
Instead of mason bee hotels, think camping shelters.
Last spring mason bee emerging in center. Top tubes are natural stems from Joe-Pye-WeedLeft to right: Joe-Pye-Weed stem harvested in autumn is better than center two harvested this following spring. Right is a disposable straw insert and far right is tube.
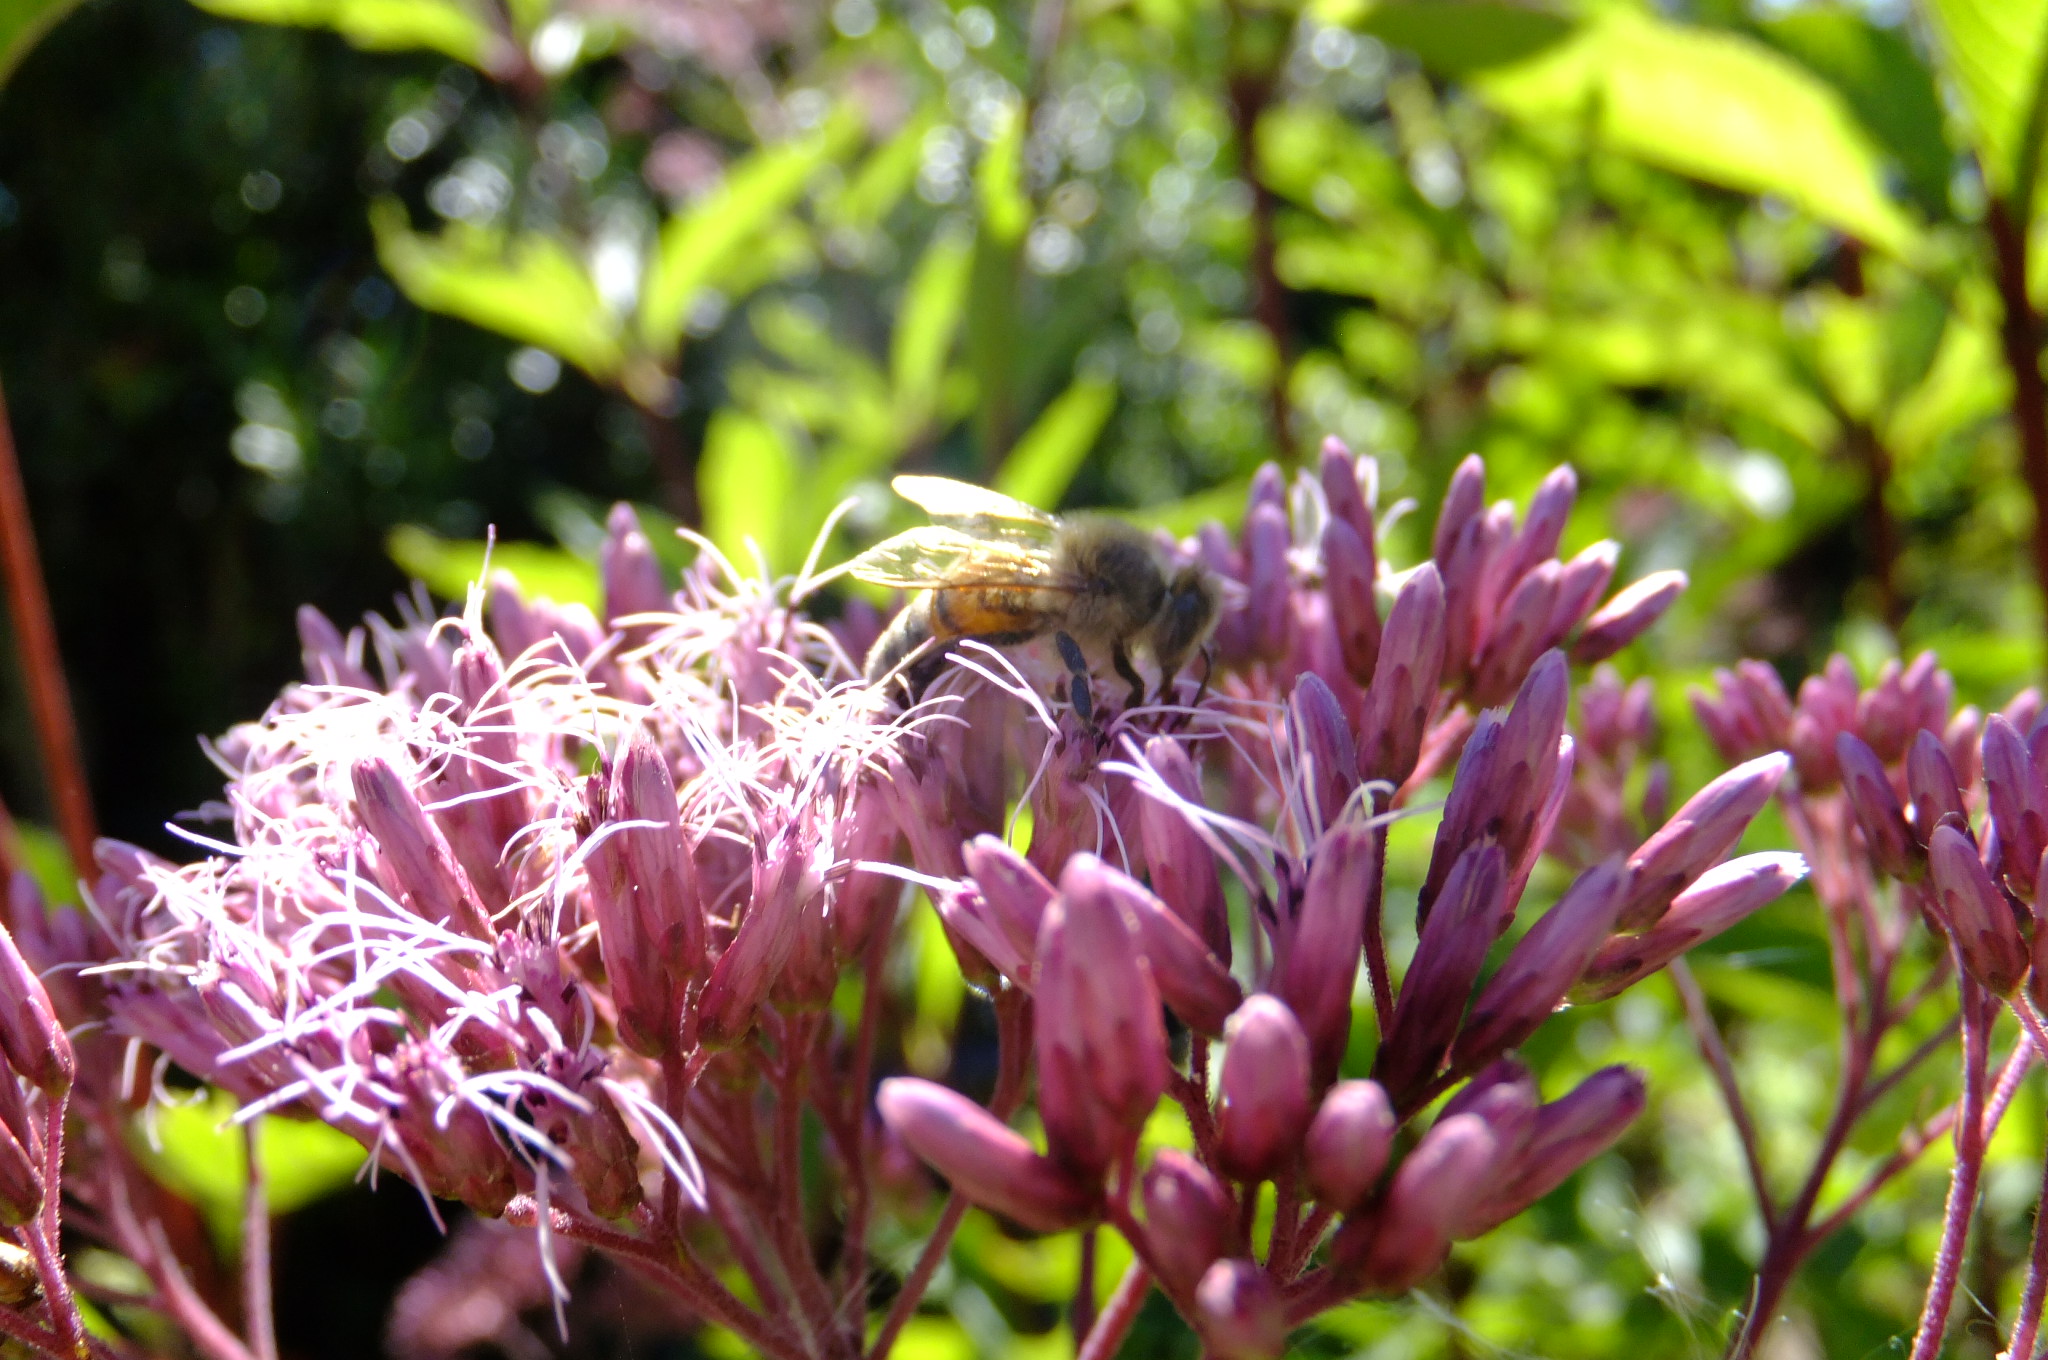
As an aside: Joy-Pye-Weed, formally known as Eupatorium now Eutrochium, is an attractive pollinator plant. It blooms in July and provides nectar for honey bees and others. One of the reasons I love it–besides it being a dramatic, predictable perennial flower–is that it grew wild in Massachusetts in wetlands and as a teenager I would harvest it for dried flower arrangements.
Springtime can be overwhelming. Everywhere we look something is calling out in need of attention. One of my garden mentors, Beth Nelson from Camp Joy Gardens, always said, “The garden is forgiving. If we don’t get it right this year, we can try again next year. Be patient with yourself.” Enjoy the time in the garden. Here are suggestions for where to begin:
General garden maintenance
Liquid fertilizer like fish and seaweed solution benefits plants more quickly in cold soil than the dry fertilizer.
Control weeds before they flower.
In the edible garden
Time to pull back straw mulch to allow the soil to warm.
Plant bare-root strawberries and raspberries
Transplant vegetable starts
Cover pea bed with floating row covers
Direct sow root crops like radish, spinach, chard, lettuce, mustard greens
Top-dress beds of perennial crops and flowers with well-aged compost.
Landscape care
Read our post about pruning flowering shrubs
Replenish alder chips or arborist-chip mulch. Be careful with trunks of shrubs & trees—no mulch within six inches. (Mulch can keep the trunks moist and allow disease organisms to breed.)
Add lime to lawns.
Learn to appreciate the many benefits of weeds in the lawn—think polyculture!
Mow grass leaving it about 2 1/2 inches tall.
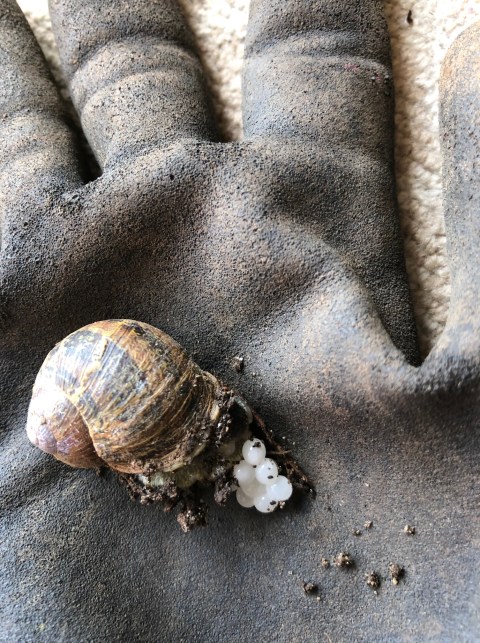
Hand pick & destroy slugs and snails. Learn to recognize snail eggs.
Sprinkle Sluggo or other nontoxic slug bait
Vegetable Starts
Start seeds indoors if you can grow healthy starts that are sturdy and dark green. Inadequate light causes the seedlings to grow spindly and fragile. Indoor lighting is dim compared with sunshine. Even a cloudy day offers more light than a typical florescent grow-light.
Once they have germinated, place the seedling trays outside on nice days. At first place them in a protected bright spot and then a day or two later, set them in full sunlight. And a light breeze will help then get sturdier. Also, by placing them outside, and bringing them in at night, the seedlings have begun the harden-off process. Otherwise, if they are greenhouse grown and then directly placed in the cold garden soil, the young plants can go into shock rather than grow.
The goal is to transplant them to the garden when they have two or three sets of true leaves. A grey, overcast day helps prevent transplant shock. If all this is too much effort, buy the vegetable starts. You can always sow your own seeds later in the season. We are so lucky here in Jefferson County to have excellent seedlings available from Midori Farm and Red Dog Farm. They are available now at the PT food Coop and Chimacum Corner Farmstand. They carry an array of vegetable varieties that thrive here.
Pruning
Shrubs that produce vigorous replacement shoots are good plants to learn pruning. These flower on one-year old wood. If you only shear them, they never flower well. Also there will be a lot of thicker woody stems. Remove any crossing branches and weak or dead stems.
Proper pruning is a combination of thinning out—removing the branch all the way back to a larger branch, and heading back—what hedge shears are good for. Most novices just do heading back cuts. The problem is the plant grows into a dense hedge with just an inch or two of vegetation on the surface. A healthy pruning jobs increases the depth of foliage by allowing light and air in to the shrub.
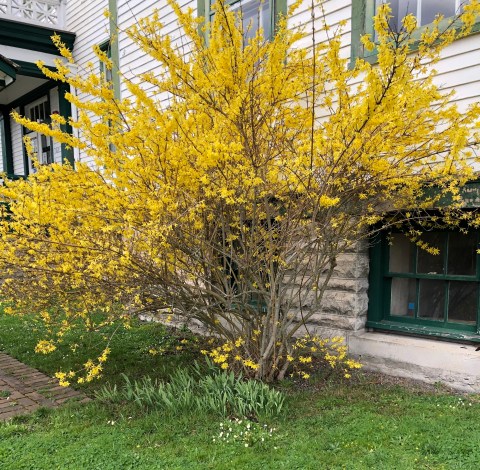
Examples are flowering currant, mock orange (or Philadelphus), forsythia, kerria and flowering quince. Wait until the flowers are faded before pruning.
Making Lists
Springtime can be overwhelming. Everywhere we look something is calling out in need of attention. One solution is making lists. Walk through the garden and write down anything that needs attention. Next set priorities. Sometimes fifteen minutes is enough time to tackle a crucial task. To borrow a term from construction industry, consider making a punch list. Keep a running list of projects that require additional help or some expertise. At the end of the day, it is satisfying to cross off items. Of course, sometimes I enjoy puttering in the garden, skipping around in a relaxed fashion. This can be a form of horticultural therapy where enjoying the clouds skittering across the sky, or watching insect behavior is just as satisfying as accomplishing something.
Serviceberry, Amelanchier alnifolia, is a multi-trunk small native tree reaching about 15 feet high and about 10 feet wide. It is an attractive addition to the garden—in spring it is covered with white blossoms and the foliage turns a butter yellow in autumn. Edible fruits are a favorite with many birds, including the cedar waxwing. There is nothing like a small flock of these delicate birds in ones tree to stop the mind!
Serviceberry does best in a sunny spot but will tolerate partial shade. To encourage growth water it regularly until it is established, then only water during the driest months. Since its native range is from Alaska to California, it should be hardy even in the toughest winters.
Botanical name: Amelanchier alnifolia
(ame-e-LANG-kee-er al-ni-FO-le-ah)
Working around the tree in summer I might nibble on the delicious tiny fruits, but mostly I leave them for the birds. Around here that include waxwings, goldfinches, thrushes and towhees, among others. The tree provides nectar for hummingbirds. Washington Native Plant Society offers much more information on using them for restoration.
About 25 years ago, I started a nursery bed for young bare-root trees from the conservation district. I planted them in rows that were easy to water and weed; after a couple of years, I transplanted them around my property. A minimum amount of pruning to shape them has really helped their form. Since they are in the rose family and a relative to our common fruit trees, understanding their growth patterns was straightforward. A row of four trees on the property line is a cheerful herald of spring. These photos were taken in 2015. Since then I forgot to water them during some of our summer ‘heat-domes’ and they have struggled. I plan to water deeply once or twice a month in August and September as needed.
Although I have only grown serviceberry seedlings, there are named varieties that have been bred for fruit and landscape appeal. ‘Regent’ serviceberry is a desirable edible landscape plant that was developed in North Dakota. It grows about 8 feet tall and has delicious berries.
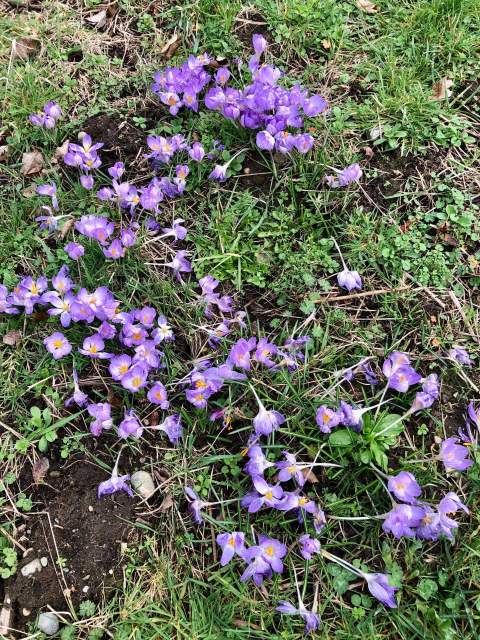
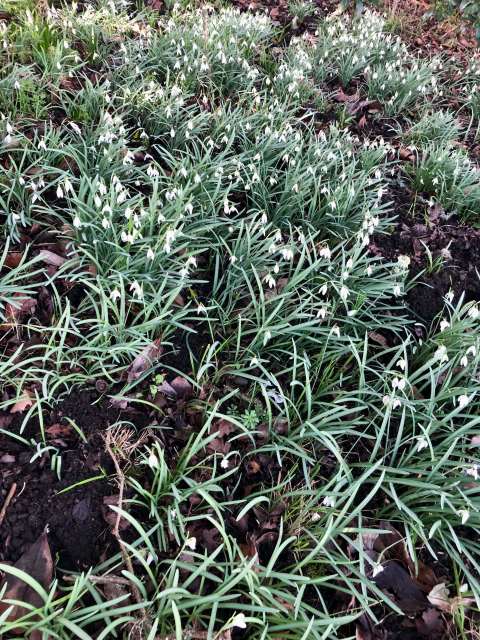
Species crocus, known as snow crocus can withstand a late snow and cheerfully rebound. This Tuscan Crocus, botanically known as Crocus etruscus Zwanenburg, once planted will naturalize. Here they are in the orchard. They bloom about the same time as Snowdrops. The trick to encouraging their growth is to hold back on mowing or weed-eating until the foliage has died down completely. I buy bulbs locally or from an old bulb house https://www.johnscheepers.com
Spring may seem distant after the snow on Feb. 27, but the sun is getting higher in the sky and birds are returning. I weeded the asparagus this morning and got to see up close just what is changing. This is a good time to remove any perennial weeds from the asparagus bed. Th trick is to move gently around the asparagus to avoid nicking the new spears forming underground.
The crowns of perennials are starting to show signs of foliage: angelica, lemon balm, even the California fuchsia (Zauschneria) Along with the cool season weeds of deadnettle (Lamium) and shotweed (Cardamine hirsuta) are seedlings of several delightful annual flowers including Love-in-a-Mist.
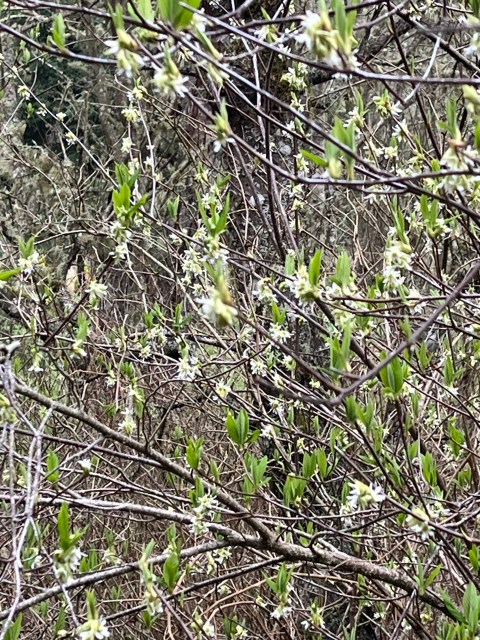
Around here spring starts blooming in the woods with Osoberry. I love the way tips of branches end in two leaves like palms held together in prayer or the anjali mudra.
Pruning Raspberries
An easy place to learn pruning is in the raspberry patch. Unlike fruit trees, there are not so many variables. The stems, known as canes are fairly simple and easy to cut with hand clippers. No saw or loppers are required. Raspberries tend to be vigorous so if you make a mistake and remove a lot it’s okay. Thin out canes to about 4 inches spacing Remove any spindly or diseased canes. Below are before and after photos.
Raspberry: There are two types of raspberry, summer-bearing fruits and autumn-bearing fruits.
The summer-bearing varieties (Cascade Delight and Tulameen) require two seasons to fully mature. The first-year leafy young canes shoot up from the roots; but not until the second season do these canes produce flowers and fruits. Some people cut these So, after the second-year canes fruit, cut them to the ground. Last year’s leafy canes are topped. These will produce flowers in early summer and abundant fruits in July for at least a month. For more on raspberries
Fruit Trees
Now is the time to prune apples, pears and other fruit tress, except plums and cherrys. In a future post I will demonstrate in a video how to prune. I love it and think of pruning as a form of sculpture. If you want to learn now, I suggest getting a lesson, watching a video or volunteering with our local gleaners. If you are not familiar with the gleaners, you must check out what they are doing. i have volunteered with them from time to time and it is so much fun!
One of the best spring chores in the orchard is foliar feeding. By spraying liquid fertilizer directly to the new foliage, and even the branches, nutrients are absorbed faster than when added to the soil. This is partly because the ground is still cold. Foliar feed in the spring when the buds are beginning to burst with about 1/4 inch of green showing. Then again when the flower buds are pink and later when the petals drop. Spray early in the day to avoid wetting pollinators. This recipe was created by orchard expert Michael Phillips. Besides the nutrients provided by the liquid seaweed and fish fertilizer, neem is an amazing tree from the tropics that can disrupt insect pest reproductive cycles. Mix the ingredients in a pump sprayer. A Backpack sprayer is most efficient if you have many fruit trees.
2 gal H2O
2T Neem
2T Kelp
5T Fish Emulsion
Growing Peas
Fresh peas off the vine are one of the delights of a home garden. We often rush to get the seeds sown, but the ground can be too cold. The seed languishes and is vulnerable to rot and disease. Cutworms and slugs can attack the emerging seedling. Mid- or late-March will be soon enough. If your soil is heavy clay you might want to wait another week.
Sprouting the seed indoors gives it a jumpstart. Either soak overnight and set on paper until the sprout is ½ inch long or grow the seeds in small pots and transplant when the first two sets of true leaves emerge. If the seedlings were grown indoors, be sure to set the pots outside and bring them back in at night for a couple of days or more to let them harden off. (If you are late getting your pea crop going, we are extremely fortunate to have a selection of vegetable starts from Midori Farm and Red Dog Farm.
Favorite Pea Varieties
Snap peas: Sugar Snap, Sugar Ann and Oregon Sugar Pod
Snow peas: Oregon Giant and Avalanche
Shelling peas: Arrow and Lincoln.
Winter Storm Damage
Frost damaged leaves can appear water-soaked or they might turn dark brown and black, then drop off.
After a relatively mild December, plants were not hardened off, but still growing. Many evergreen shrubs have leaves that are brown and dropping. Although some look awful, restrain the urge to cut back the shrubs. Patience. Experts advise waiting until May or June to determine if plants are dead or just weakened. Plants like hebe from New Zealand, hardy fuchsia and some Mediterranean subshrubs like rosemary can look bad but will probably recover.
Arctic Blast
Thirty-three years ago, I worked here as gardener when we were hit with a severe arctic blast. Plants that looked terrible did recover slowly. The recent storm in January was very hard on gardens. Although some evergreen shrubs look awful, restrain the urge to cut them back. Patience. Experts advise waiting until May or June to determine the level of damage. The plants are weakened and will require extra attention in the coming year. Consistent watering based on their need, compost and some fertilizer will help. See this post on foliar spray seaweed. Some less hardy plants including newer introductions from New Zealand and Australia may die all the way to the ground but the roots could still be alive.
WEATHER
Cliff Mass, a meteorologist at Univ of WA has a blog that can teach you about our local weather https://cliffmass.blogspot.com/
He is not always right and his politics are questionable, but I read him regularly because his weather forecasting is good and he provides clear explanations about weather and climate. In the future, the winter weather event we should be alert for is the Oscillating Polar Vortex. That’s when an arctic blast rushing down from the Fraser Valley can slam the Olympic Peninsula.
Watering plants (Or using a hand-pump sprayer to spray as a foliar feed) with seaweed fertilizer provides micronutrients that can help all plants be more resilient. Research shows that kelp fertilizer strengthens plants to withstand abiotic stresses including drought and cold. I have used seaweed liquid fertilizer (Maxicrop) for 40 years and it is an essential part of my gardening. Seaweeds are rich in plant hormones that trigger the plant’s own hormonal production. And finally, seaweed extract strengthens the plant through its impact on the microbiome in the soil around the roots.
Foliar Feeding with Liquid Seaweed
Foliar feeding is a way of getting nutrients to the plants through openings in the plants leaves. It is faster than applying the same product to the roots. Use a hand-pump sprayer or backpack sprayer and apply in mornings or when it is not windy. Seaweed fertilizer provides micronutrients that can help all plants be more resilient. Research shows that kelp fertilizer contributes to abiotic stresses including drought and cold. Seaweeds are rich in plant hormones that trigger the plant’s own hormonal production. And finally, seaweed extract strengthens the plant through its impact on the microbiome in the soil around the roots.